^ Back to Home Page ^
Projects Index
o
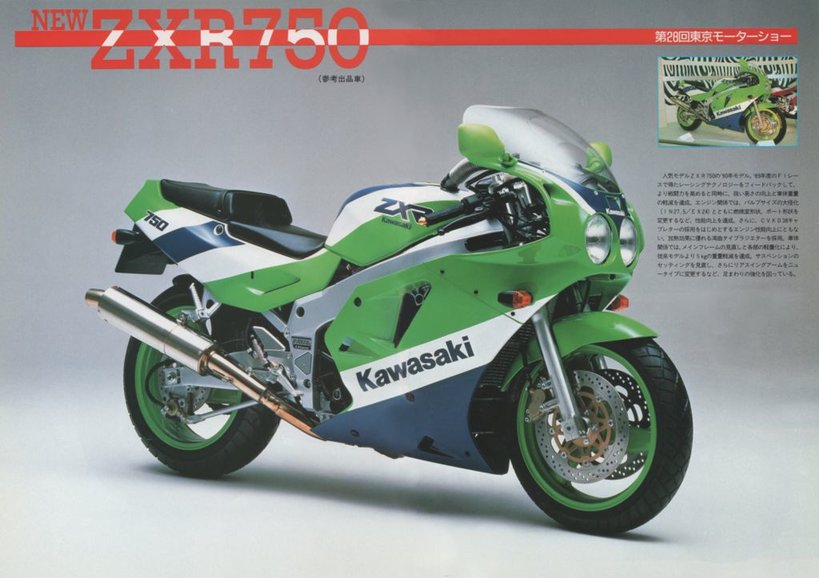
1989 Kawasaki ZXR750-H1. The First Model.
| November 30 2010
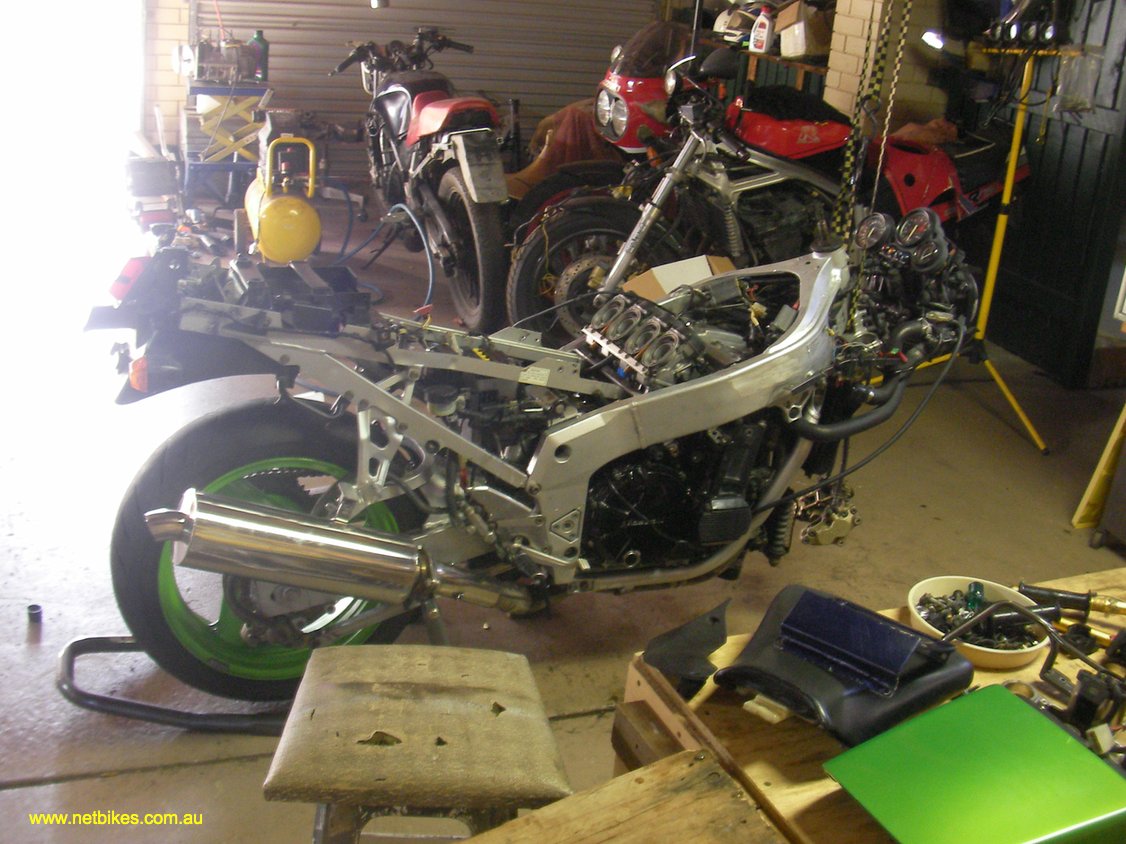
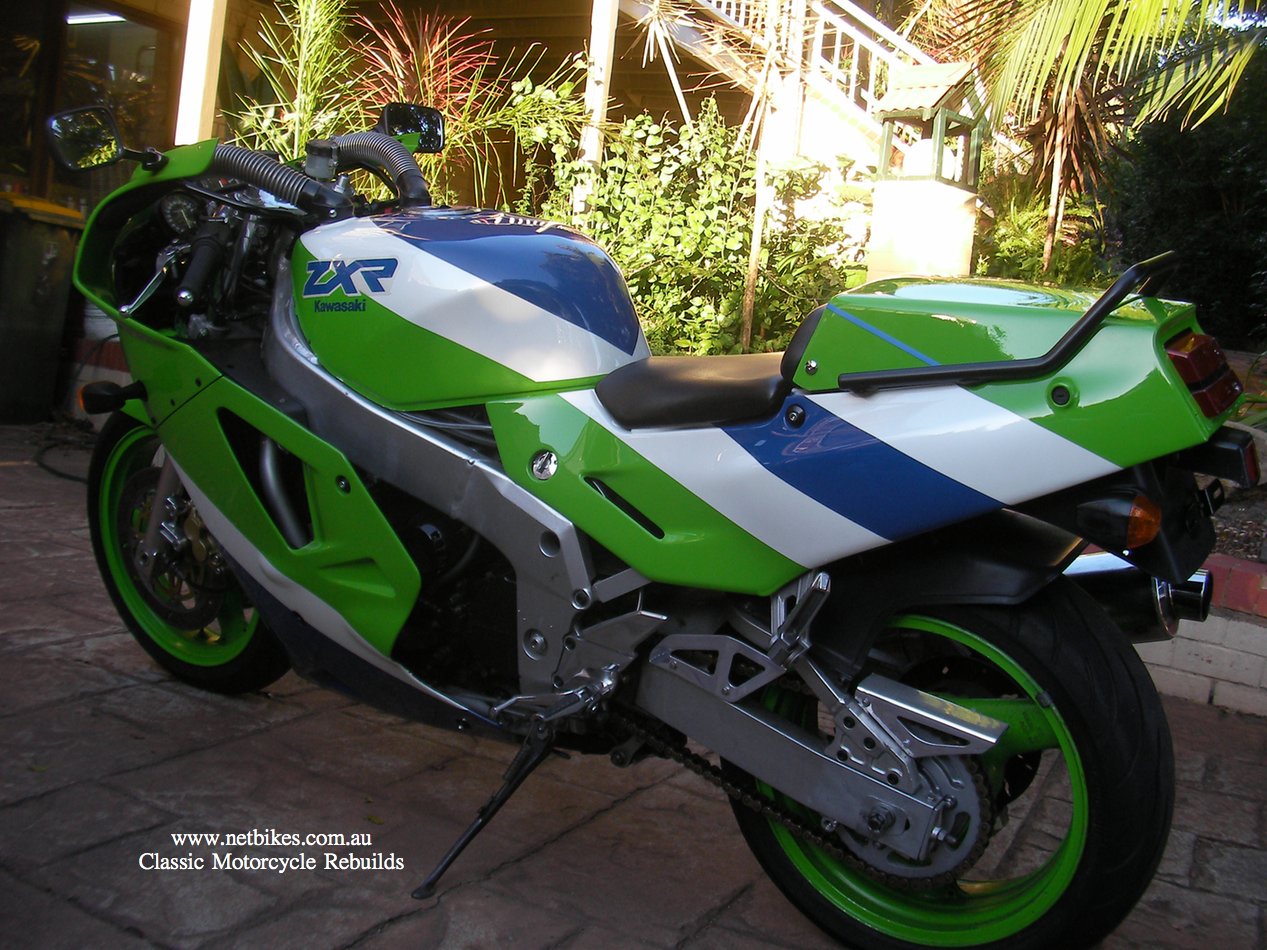
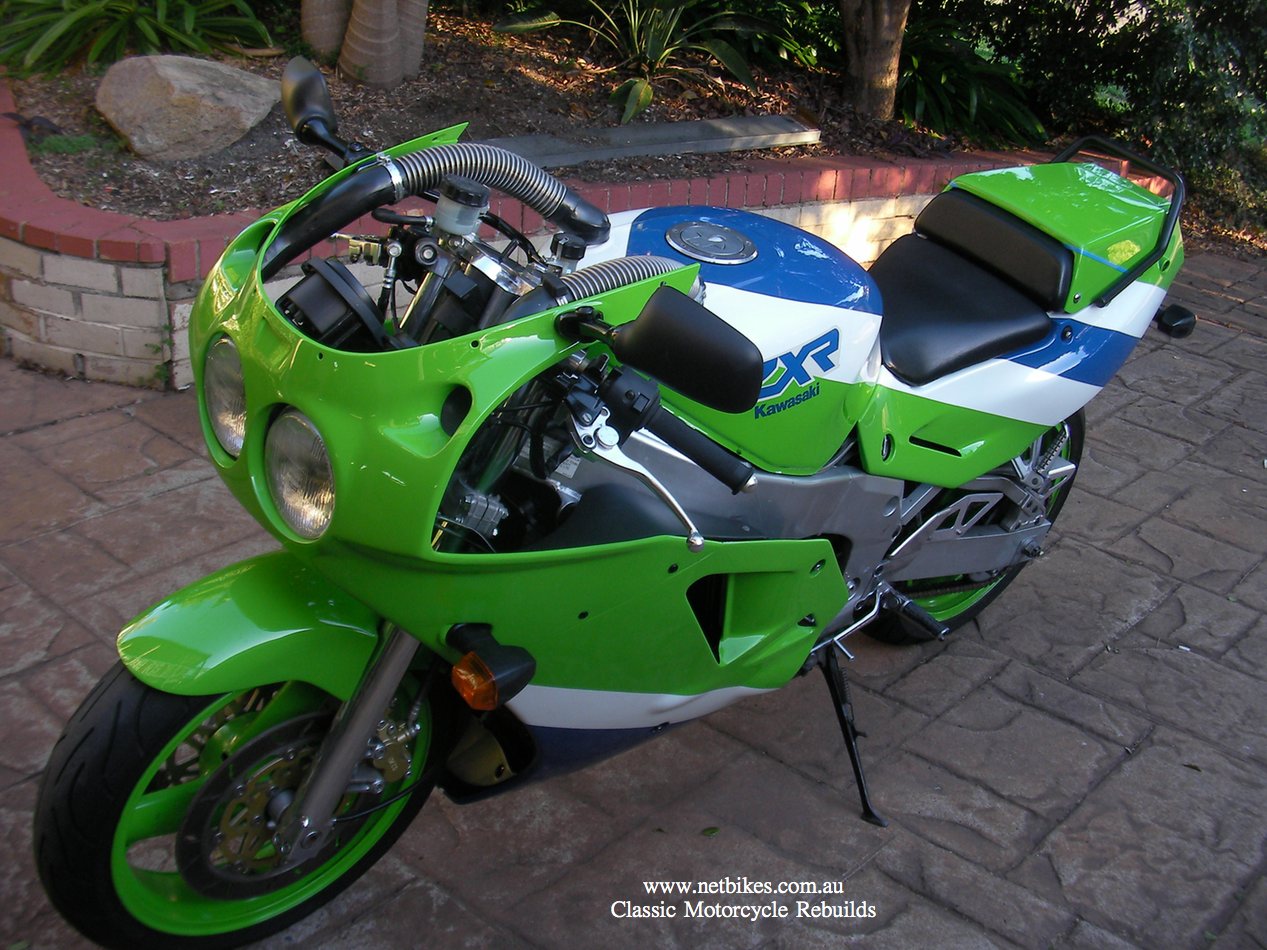
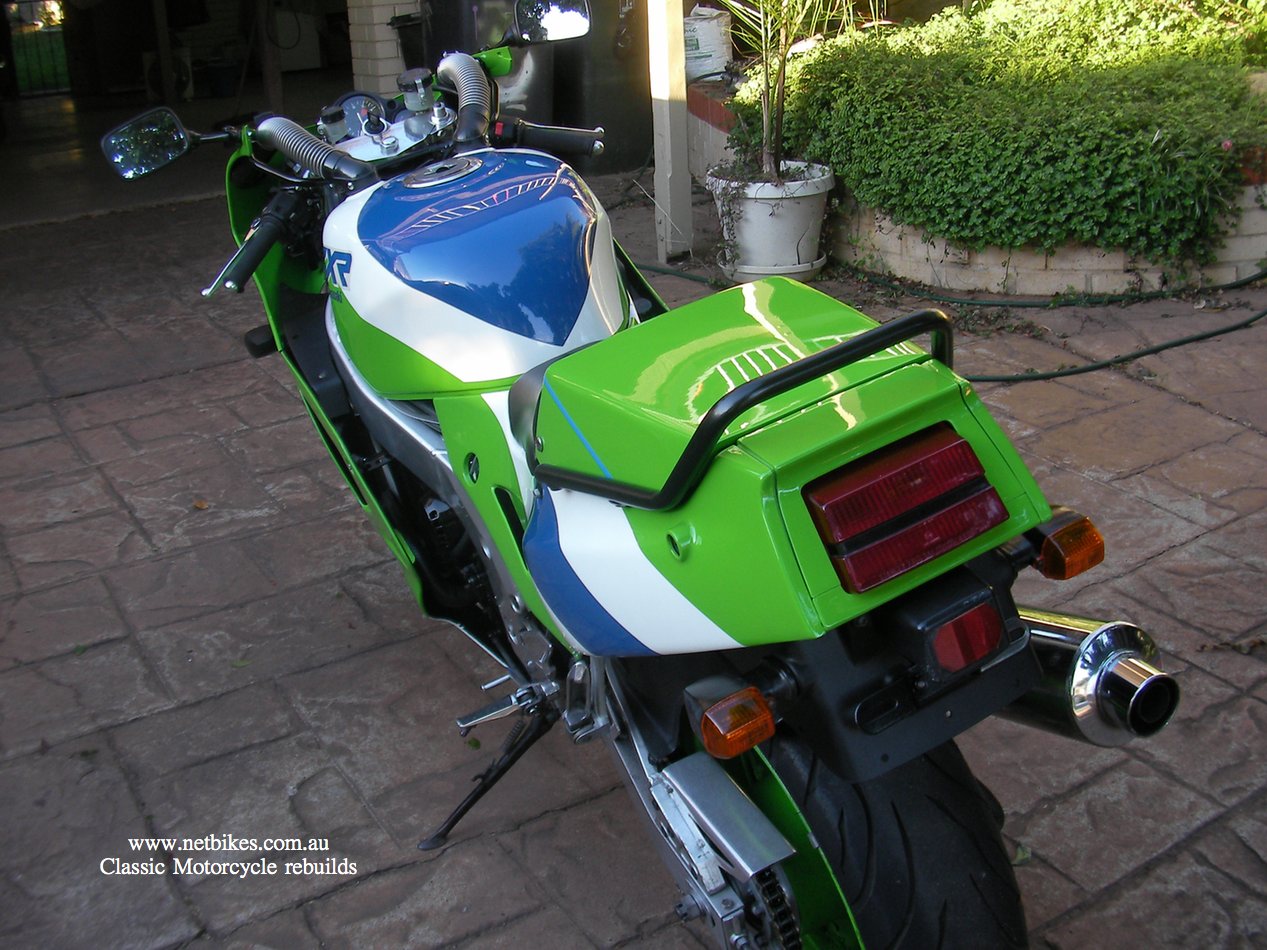
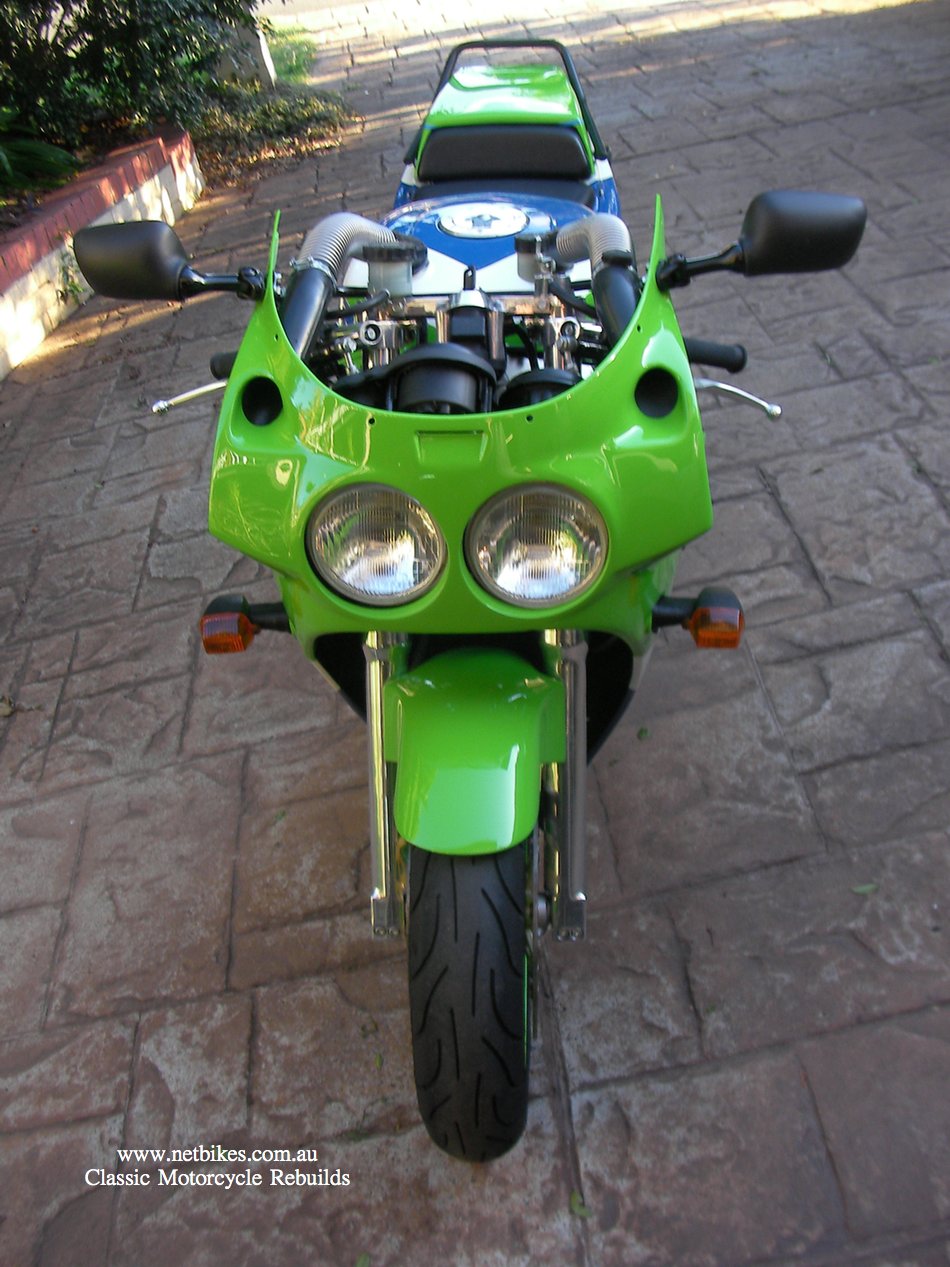
The above brochure picture is what I am aiming for in the restoration of the bike's below. I purchased both recently and will make one nice bike from the two. The remaining parts will be sold. Please contact me if you need any H1 parts. My email is at the bottom of page. One bike came complete with so so condition non original paint and was basically rideable. The engine has a accessory water pump fitted for what reason I don't know but it runs nice, no smoke and no noises that shouldn't be there. I will be selling that motor. The other bike came with damaged forks and front wheel. Again it has a nice engine. This is the bike I will be working on and have already transferred the forks and wheel from the other bike to it for rolling purposes, they will be removed again at some point for further restoration work. I will also be using the rear wheel and exhaust system from the other bike. Every piece of plastic from both bikes has some damage and I have today got a quote for repair and repainting the complete bike in original colours, it ain't cheap but has to be done.
|
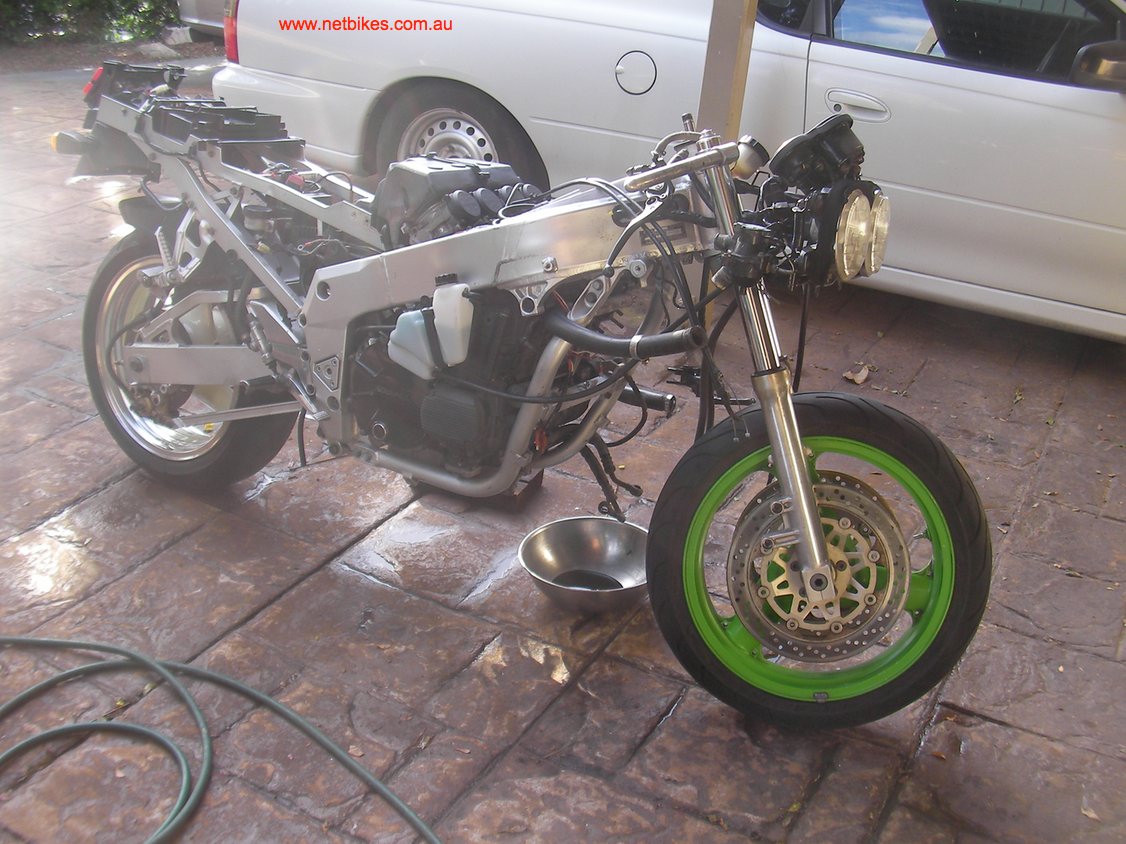

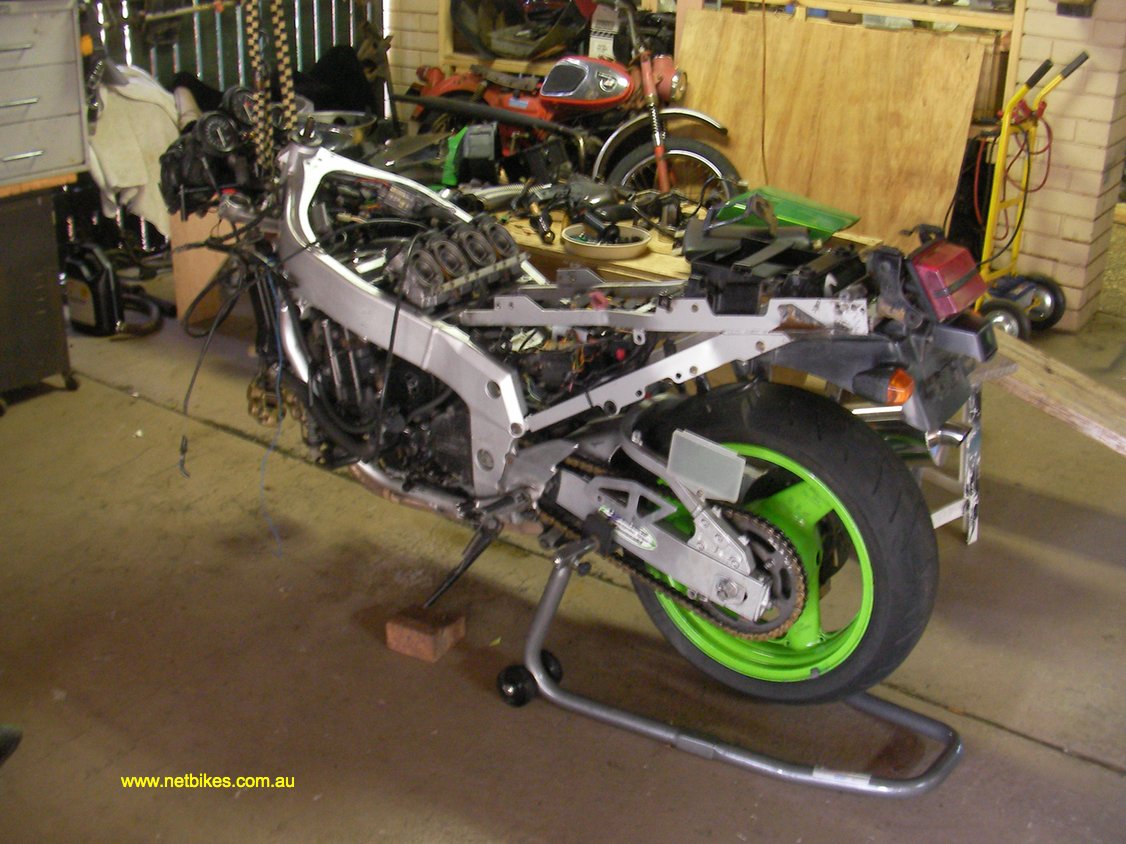
| I removed the green rear wheel from the donor bike today, had to grind a link from the drive chain to do it as it is a non joining link type chain. Removed all the bearings, the sprocket side bearing was a real bitch to get out but it gave way with persistence bashing with a wide drift.
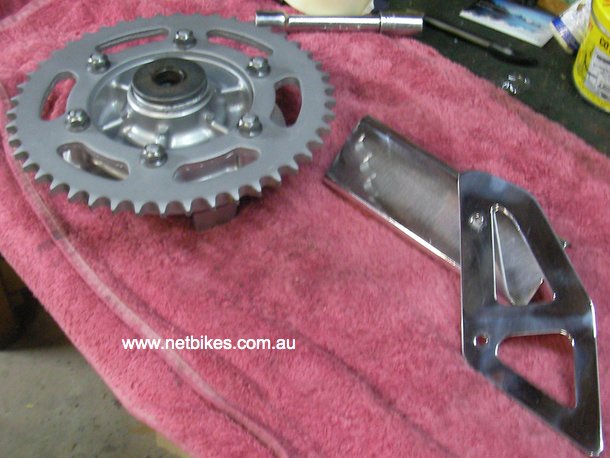
I renewed all 3 bearings which included the one for the sprocket holder, and two new circlips. Wheel is now at the shop getting a new tyre. I also removed the rear wheel from the do up bike and cleaned inside the swing arm in readiness to refit the green wheel hopefully tomorrow night. While I was in the cleaning mood I ran the alloy front and rear section chain guards over the buffer and as the pic below shows I painted up the sprocket holder. All parts look tons better in the flesh than in this pic. |
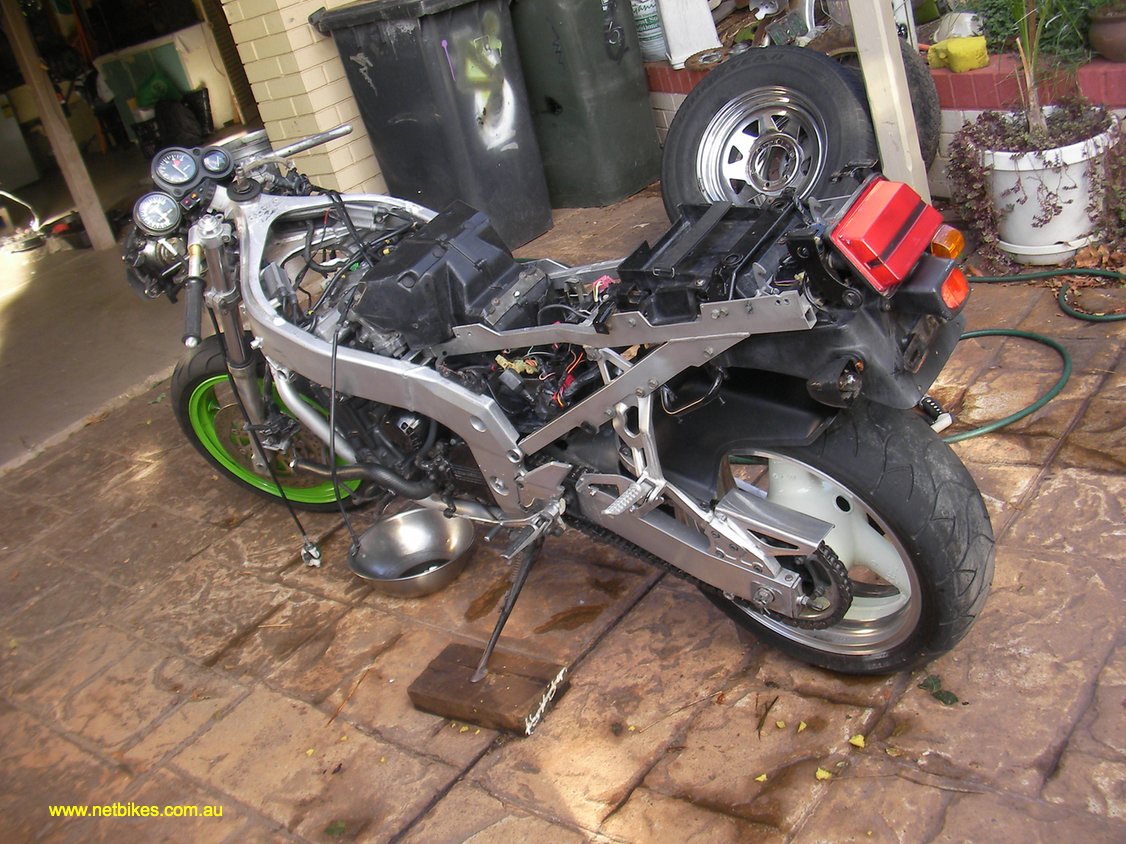
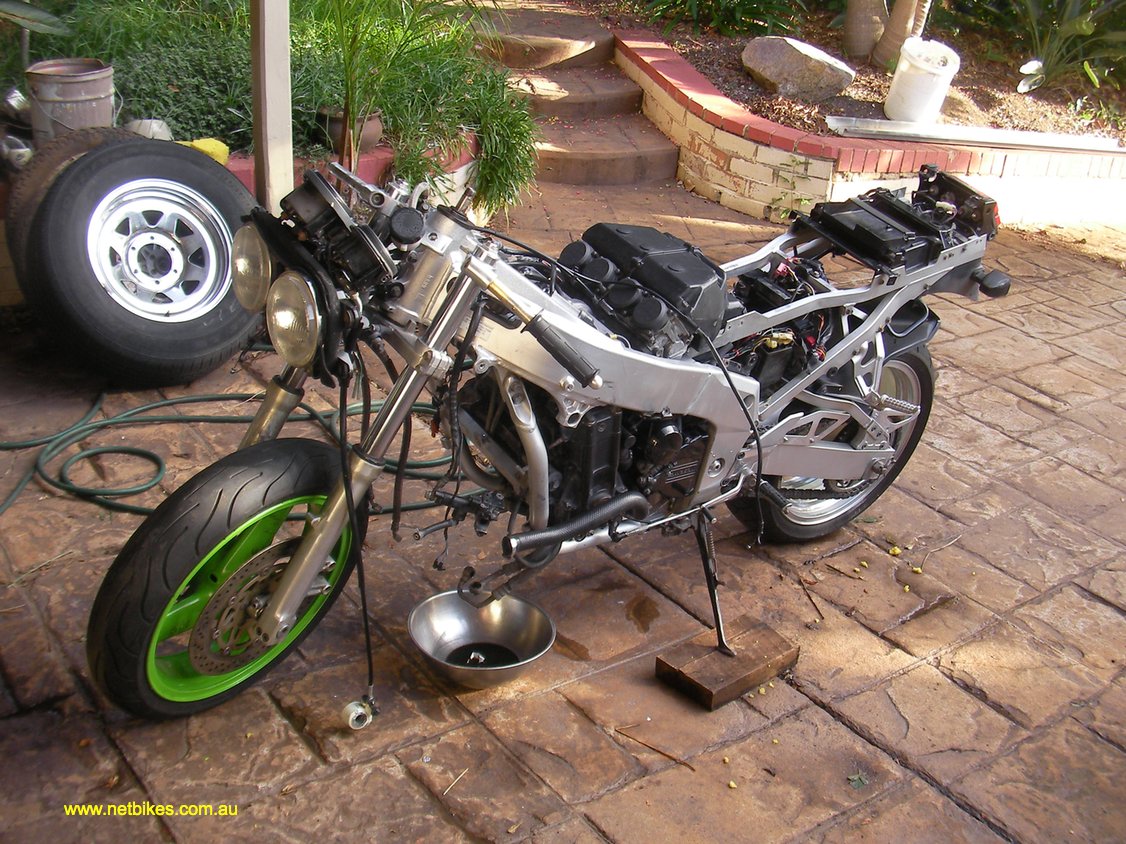
| No pictures this update, a bunch of small stuff done and nothing you would probably notice too much in pics.
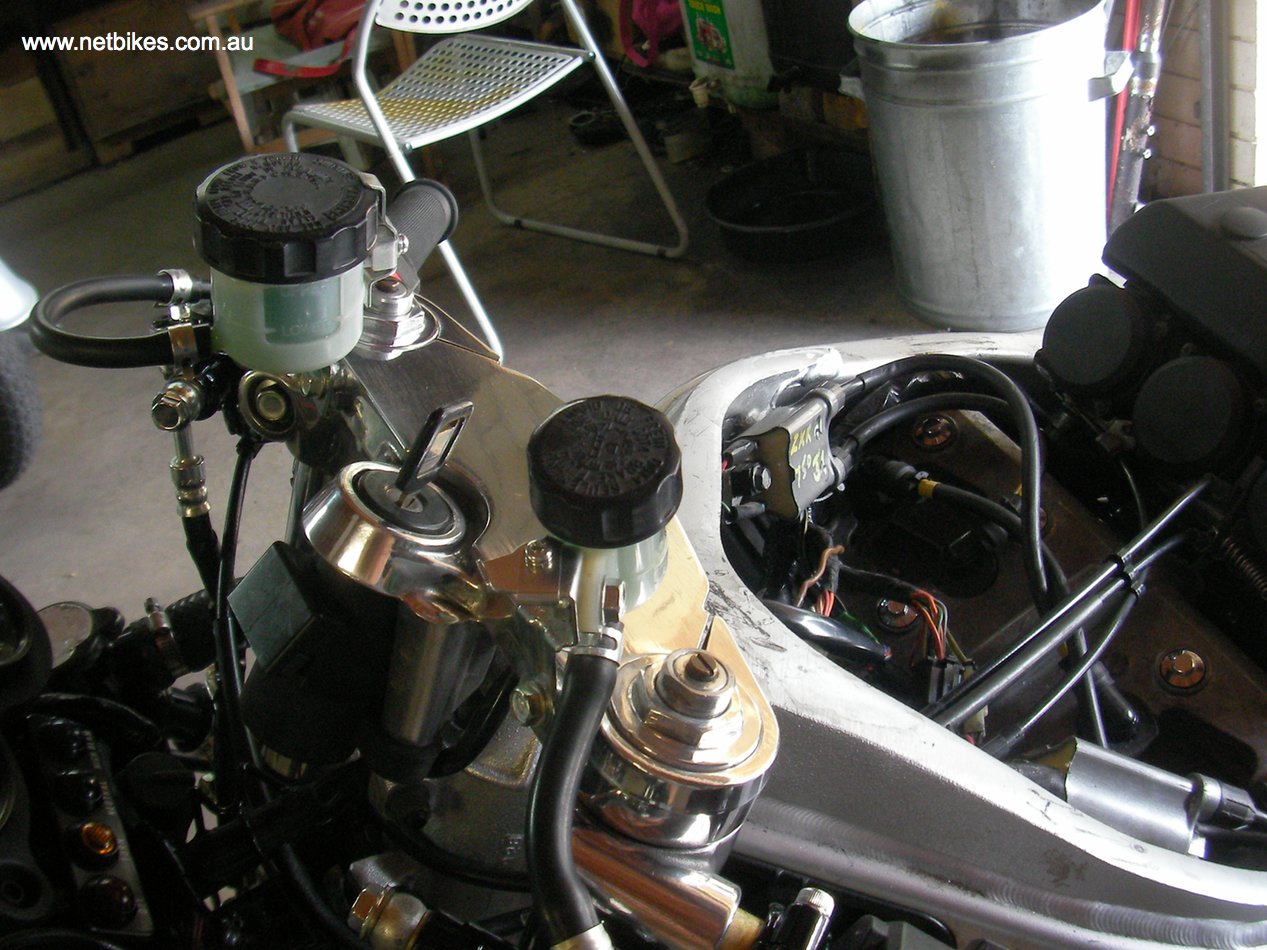
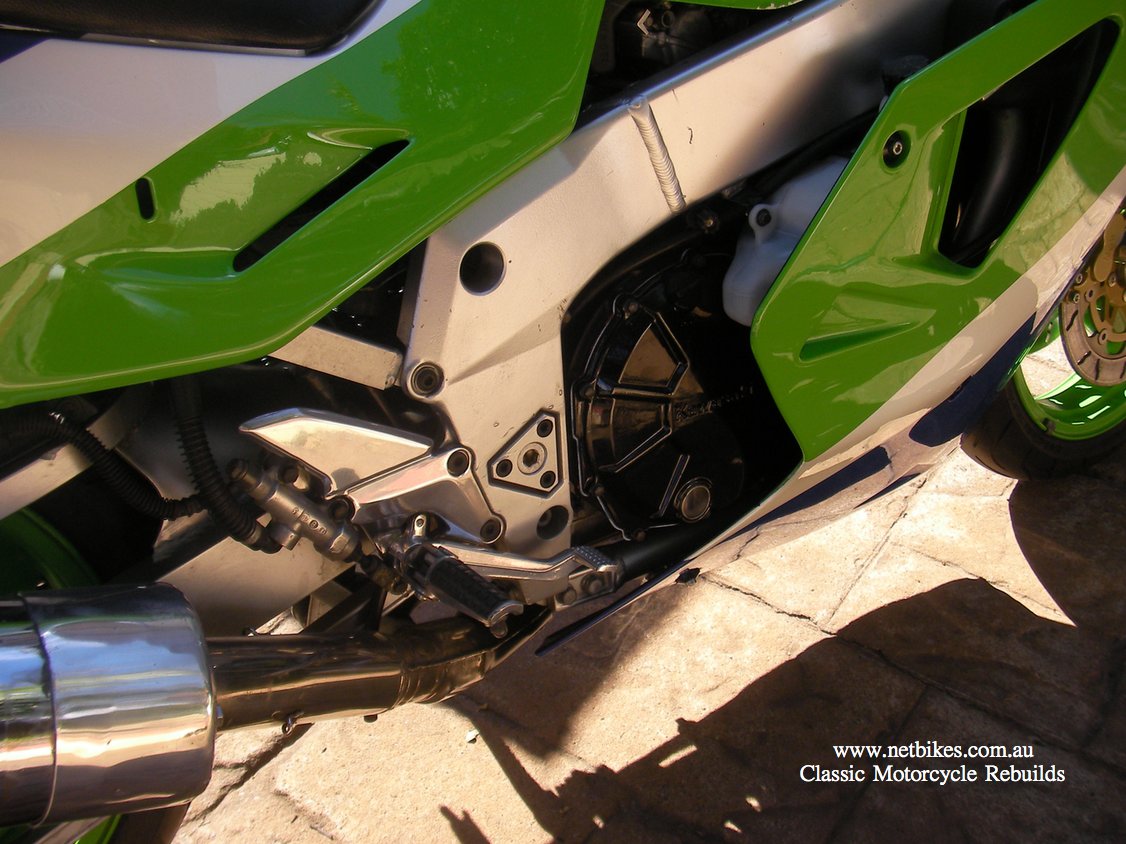
I have now fitted the cleaned up exhaust system from the donor bike, removed all black plastic parts, cleaned and repainted in Septone vinal paint and refitted, had all metal brackets powdercoated, radiator and oil cooler screens and their relative mount brackets, tail light mount, rear seat and tool box brackets etc. Pretty much all metal that was painted black is now powdercoated and I am in the process now of refitting them. I also coated the front sprocket cover as a test and it came up excellent so will do the clutch and alternator covers as well. I painted the radiator and oil cooler in VHT satin black. I have purchased from the UK a new set of handle bars and have polished the clamps, not fitted yet as I intend to remove the front forks to fit new fork seals and I think I will have the alloy lowers blasted and clear powder coat. I have finished polishing all factory alloy parts (not frame) fitted to the bike. Really just the foot controls and a couple of other odds but still somewhat time consuming. Also from the UK I bought a undamaged plastic tail light surround, it is now with the painter. I am on the lookout for a undamaged front fairing in original plastic, if you have any leads please let me know. I also bought a rear grab rail, still to arrive. Lastly I cleaned up most of the electrics in the center and tail of the bike as I was refitting stuff. The do up is moving at a reasonable pace. Till next time then. Update, Jan 7 2011
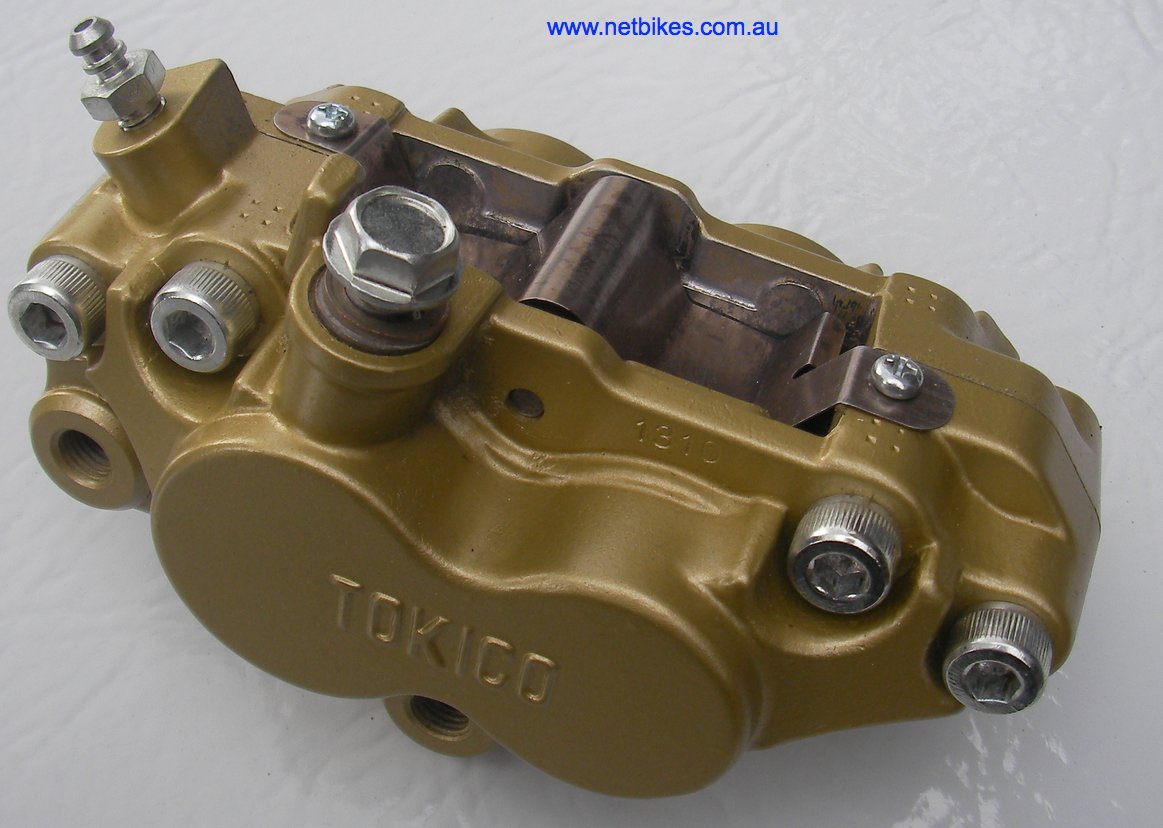
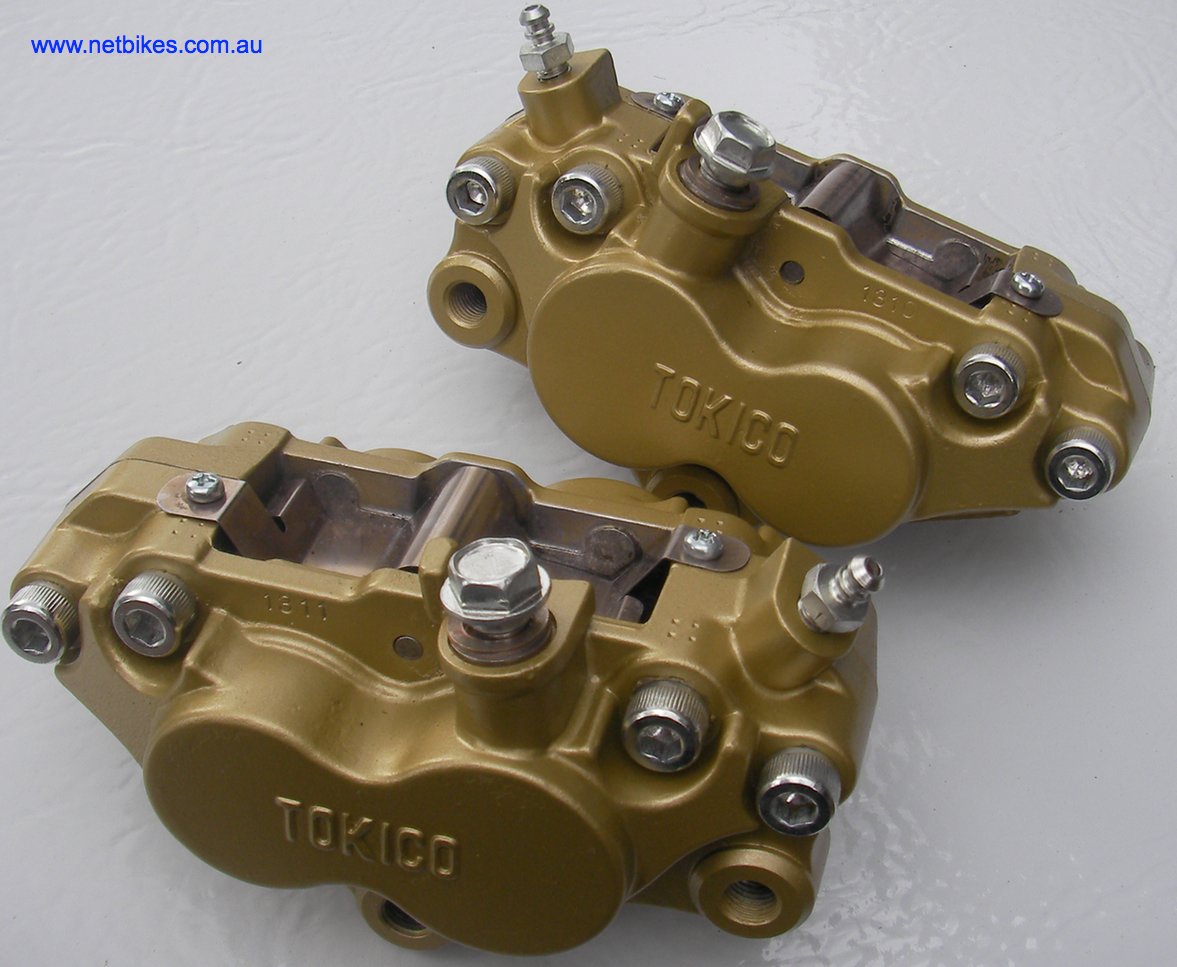
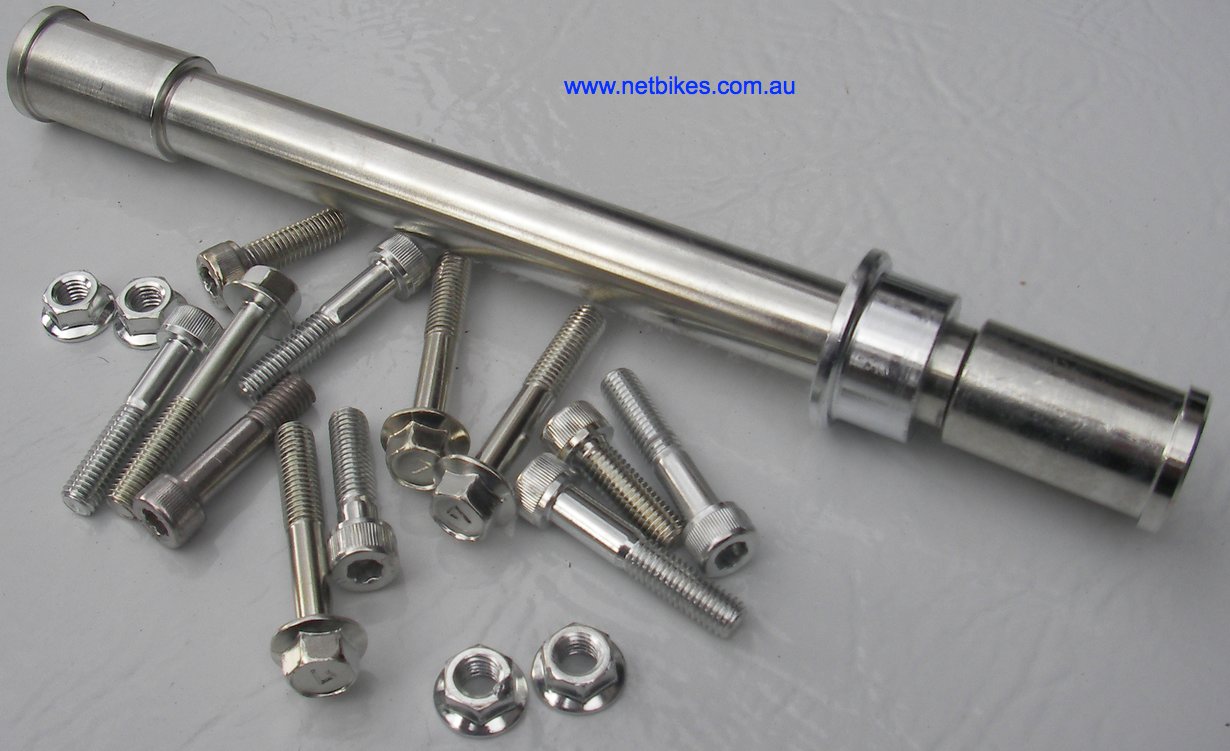
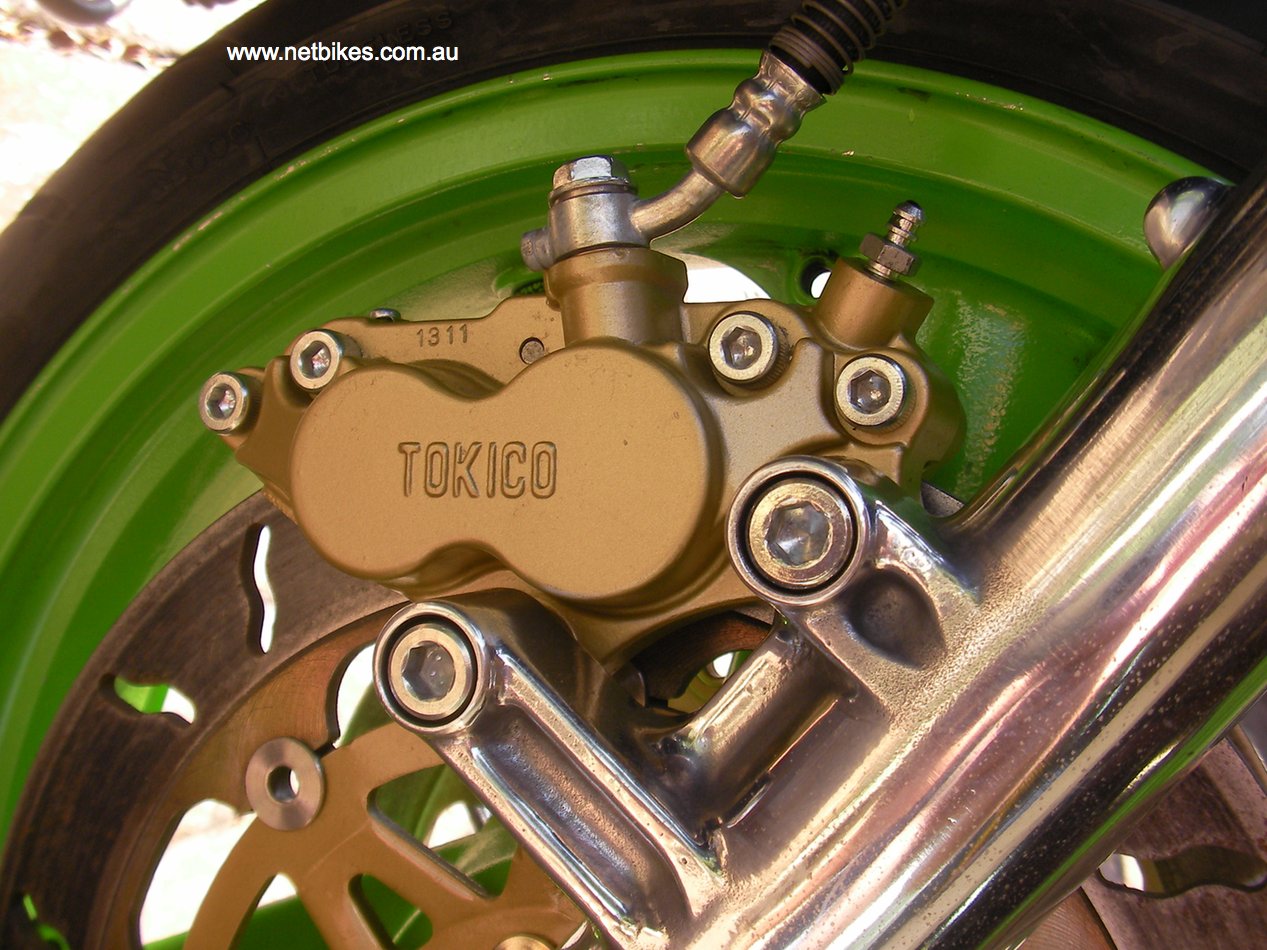
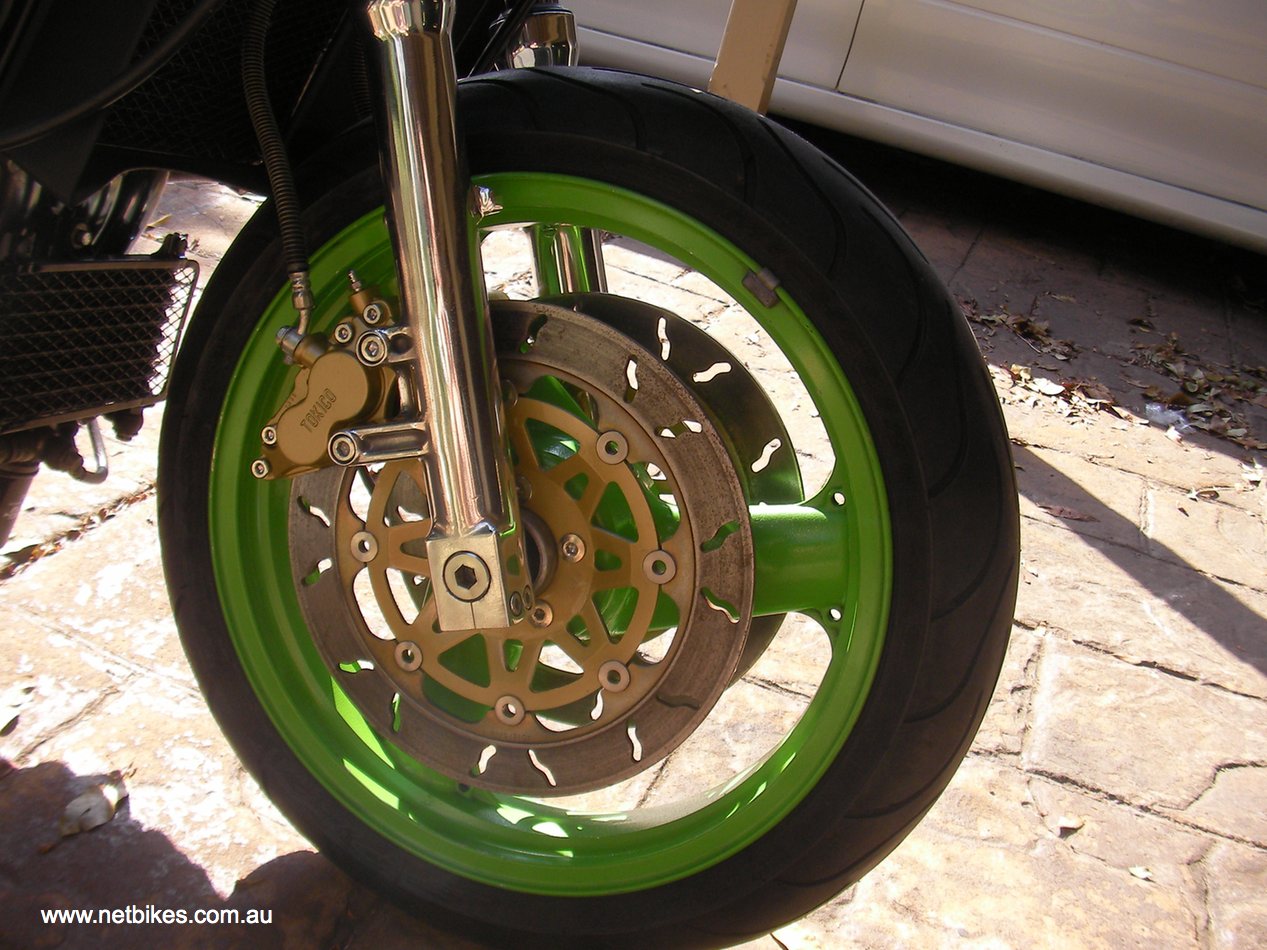
Unfortunately the paint work is going to be a hold up, I am still looking for a good front fairing, no luck yet. Below are a few pictures of the restored callipers and zinc plating of bolts done with a Jane Kit. Remember it is all in the preparation, all pieces were cleaned to remove any oils and then put over the wire wheel and buffed up to the max so they were shiny before they went anywhere near the plating kit. |

| Check out this lot below, there are still a couple out there, turn the sound down, you just don't want to hear their voices:-) |
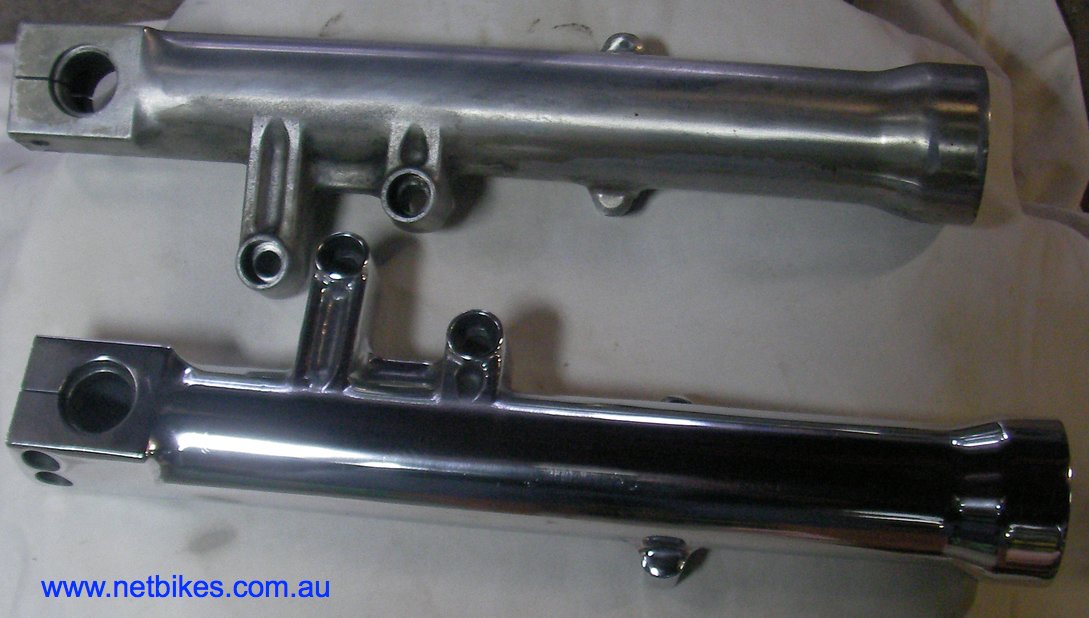
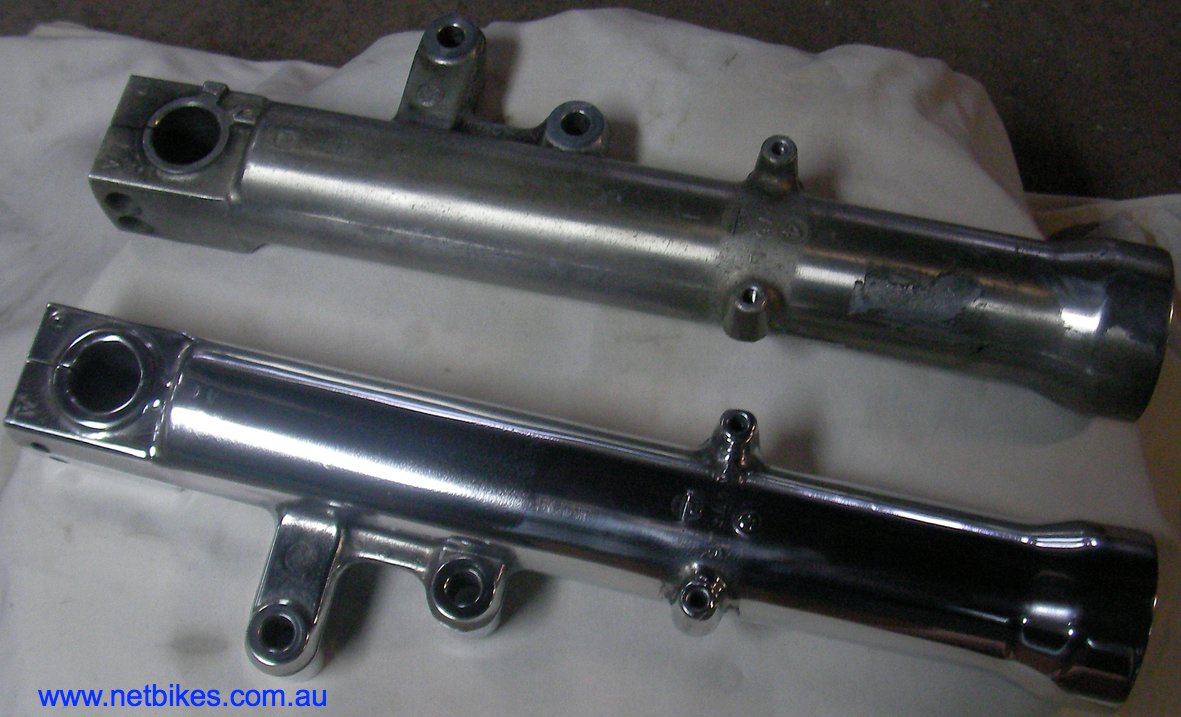
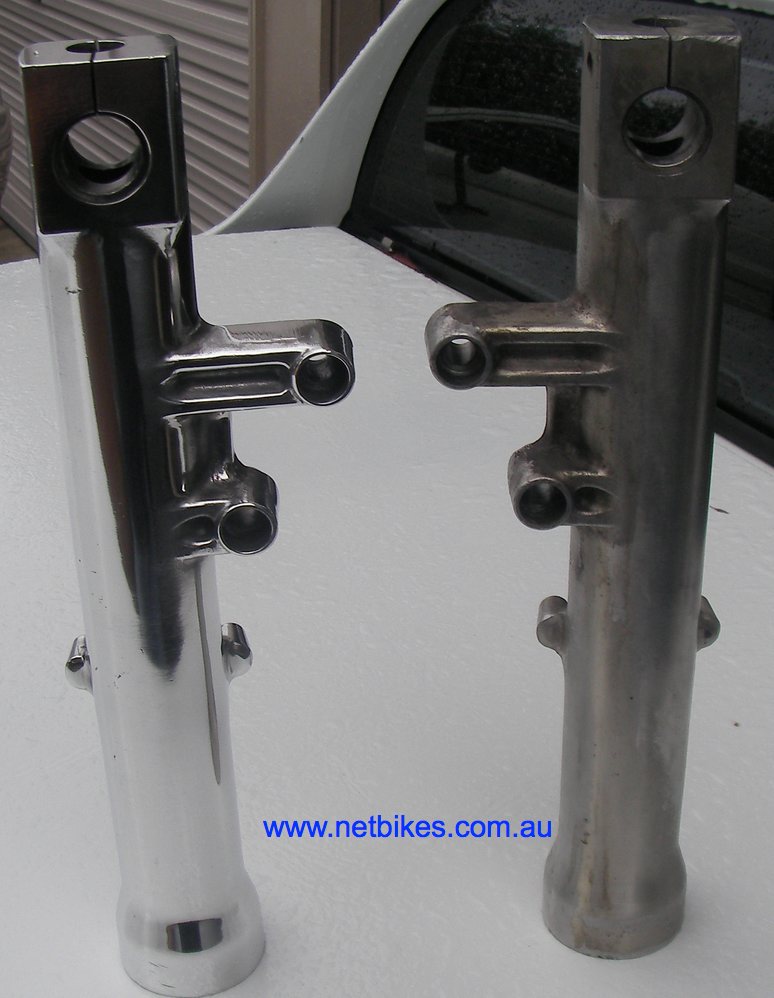
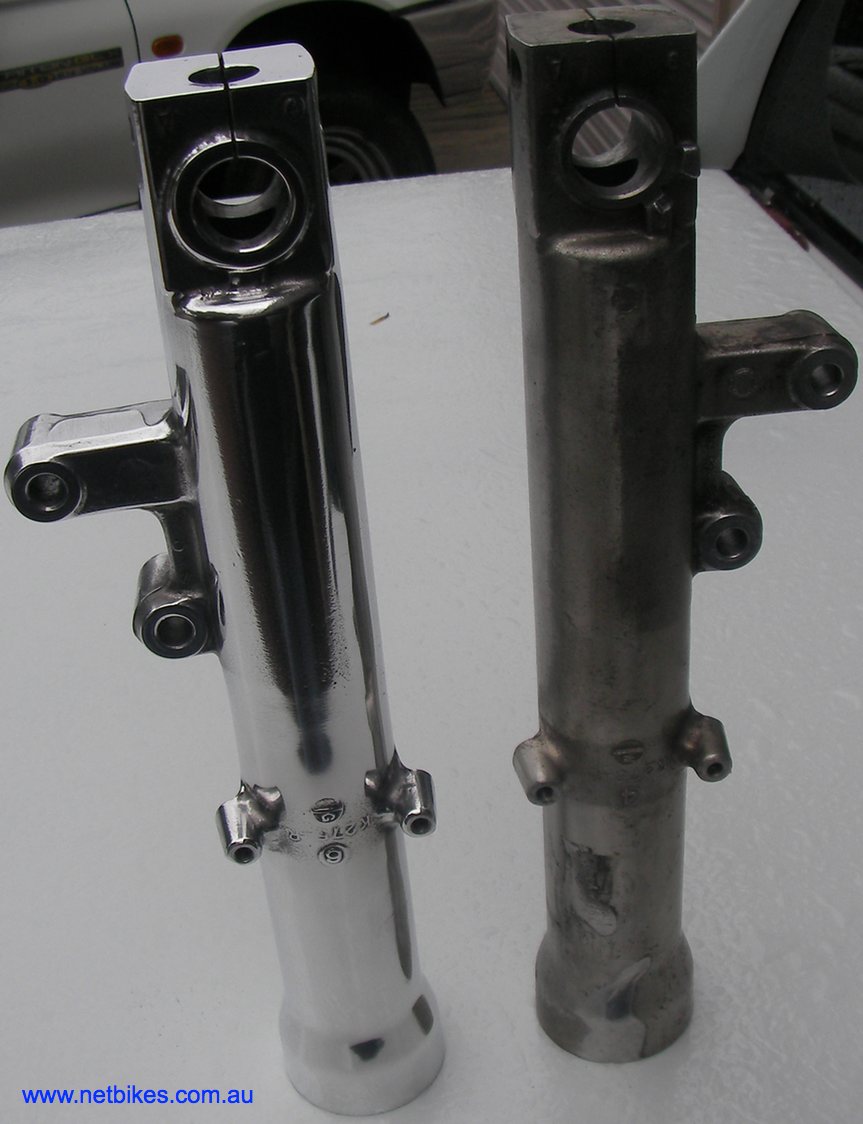
| Some pictures of the fork lowers, one completed and the other before beginning. Method, dissamble all, wash lowers in solvent to remove any oils inside and out, paste up with paint stripper and remove any factory clear coat residue, wet sand with 180 grade paper, wet sand with 600 grade paper, spend a good amount of time here, the better you get it here the better it will turn out on the polishing wheel. Polish with cutting wheel and polish and follow with the fine wool wheel. If desired you can then remove final polish residue and again coat with clear auto paint. |
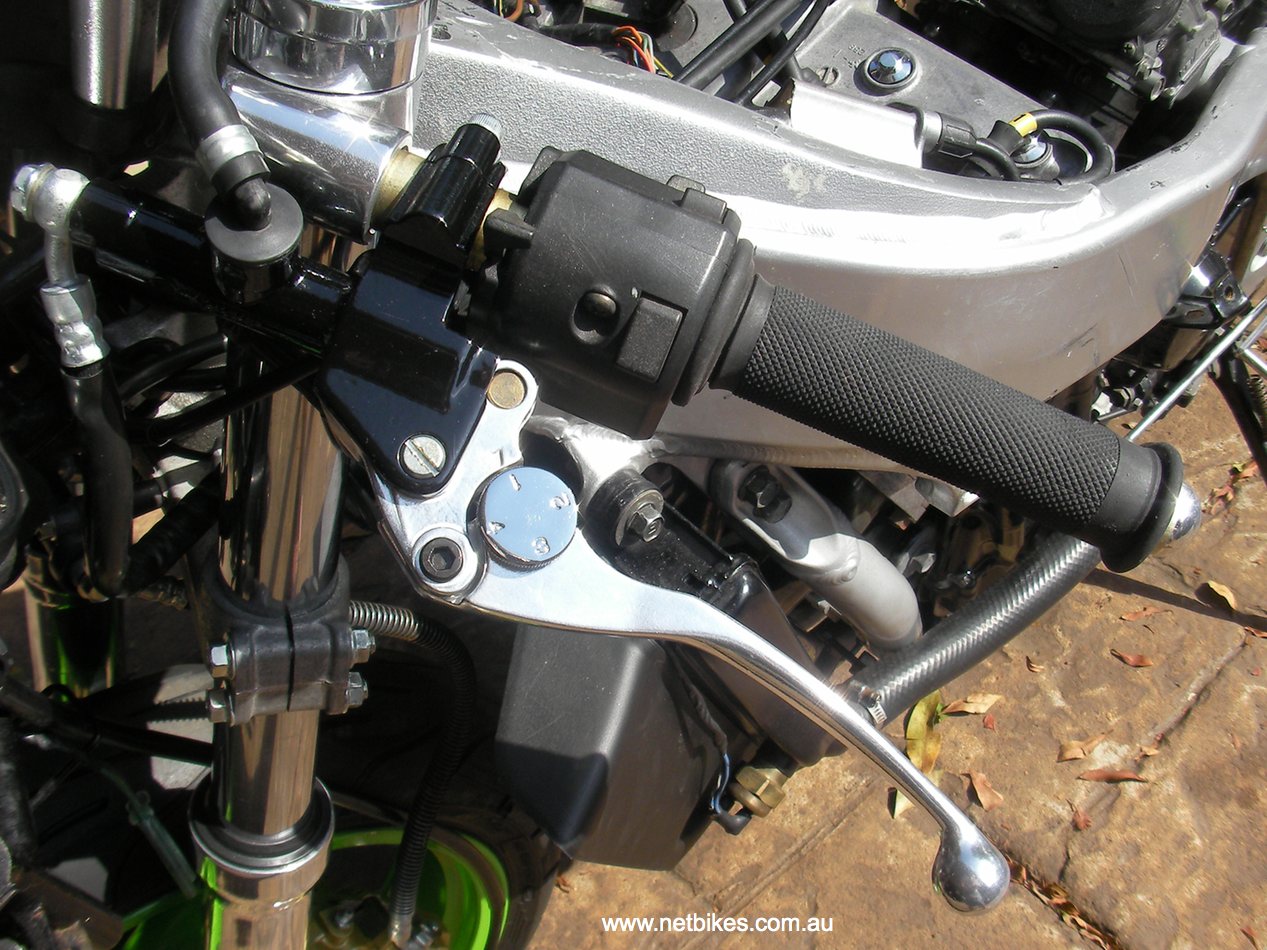
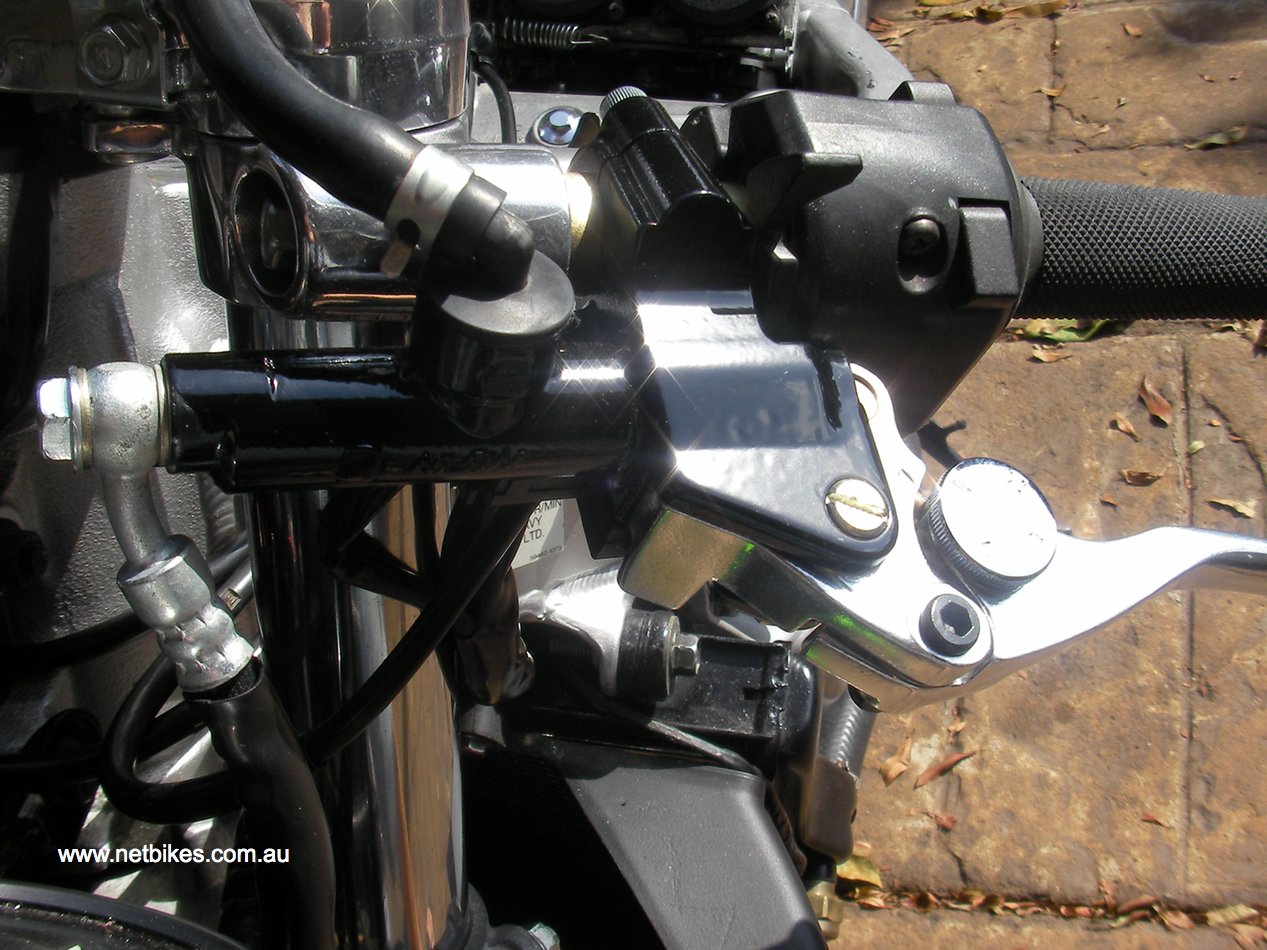
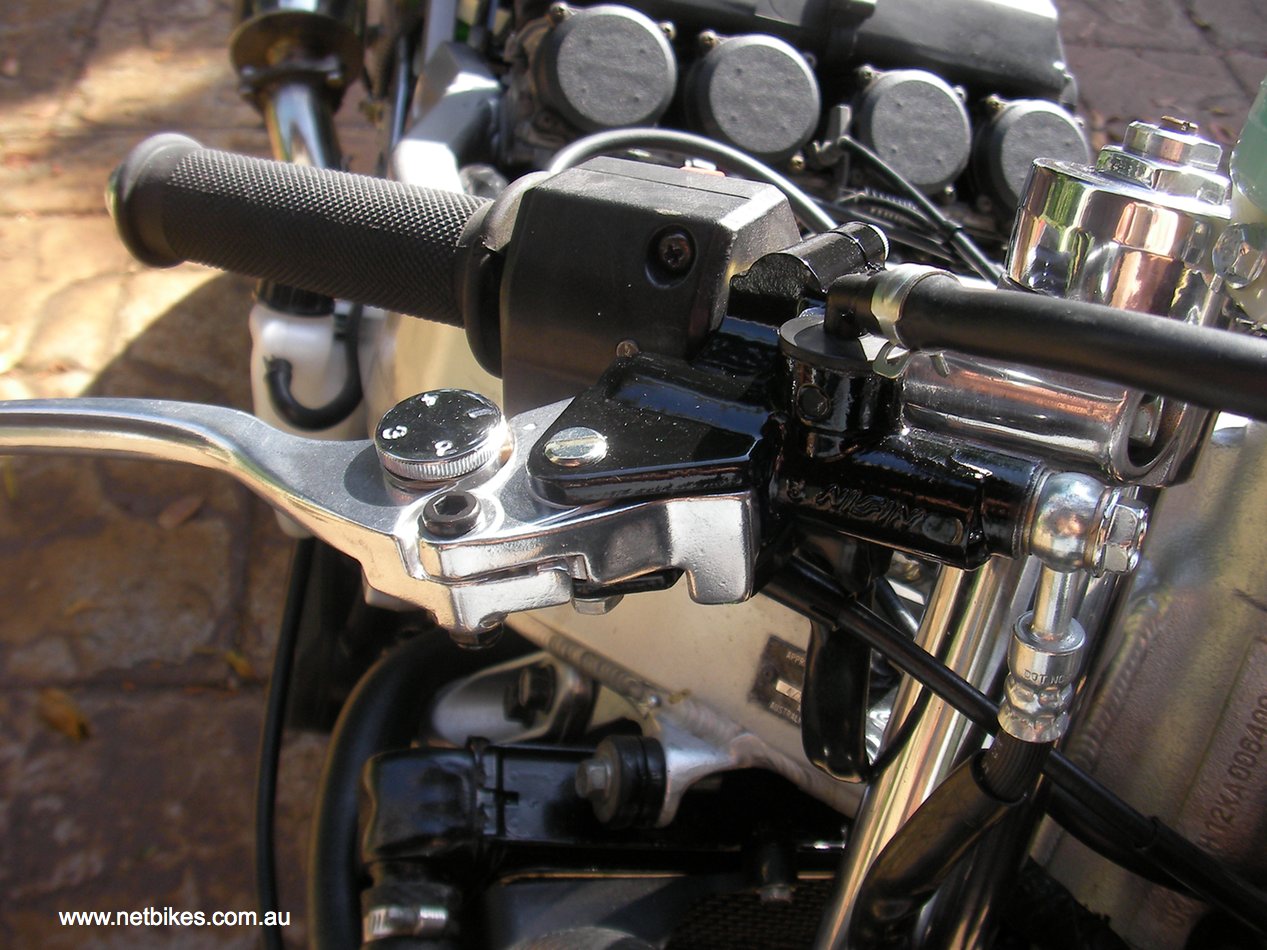
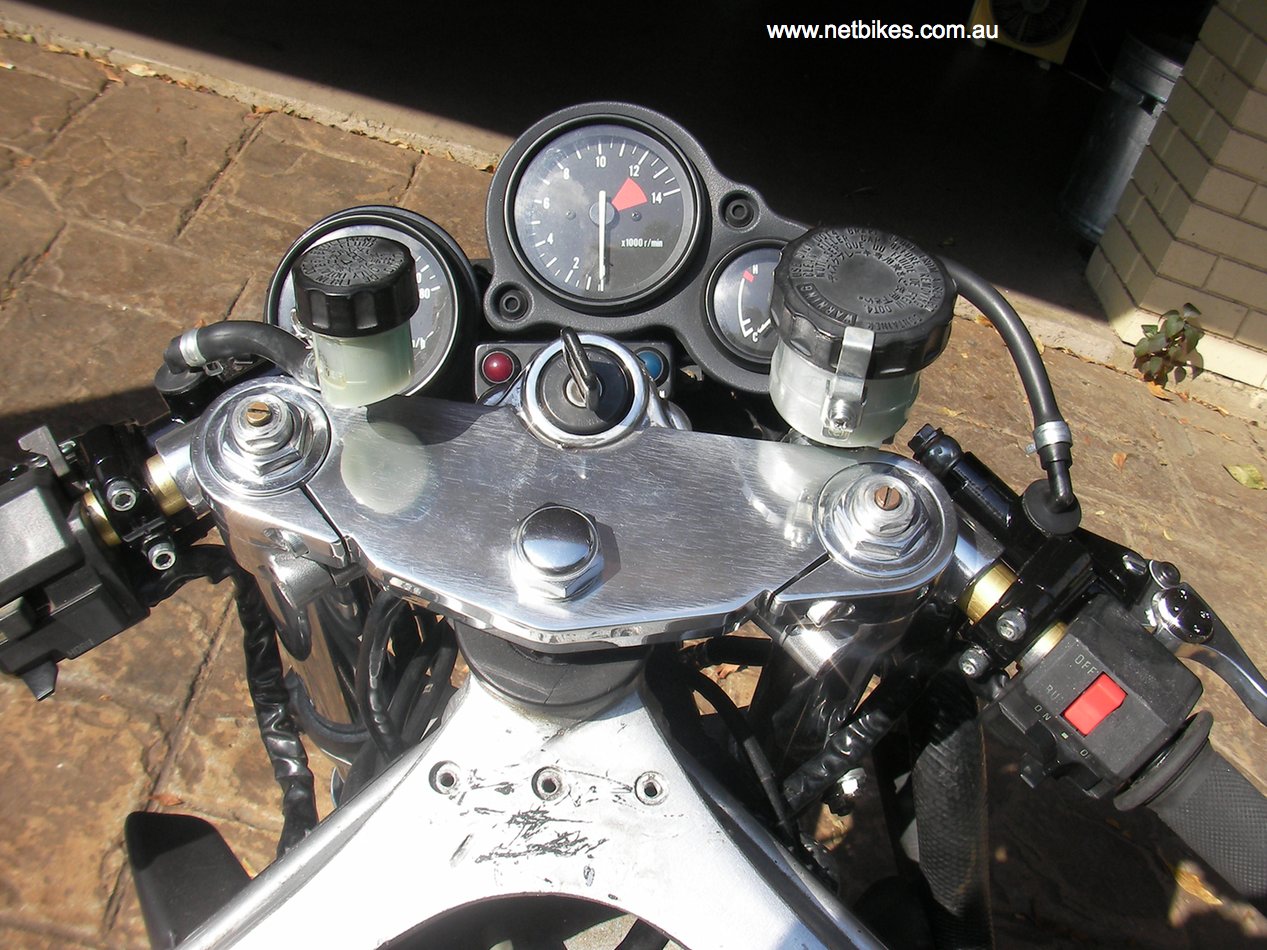
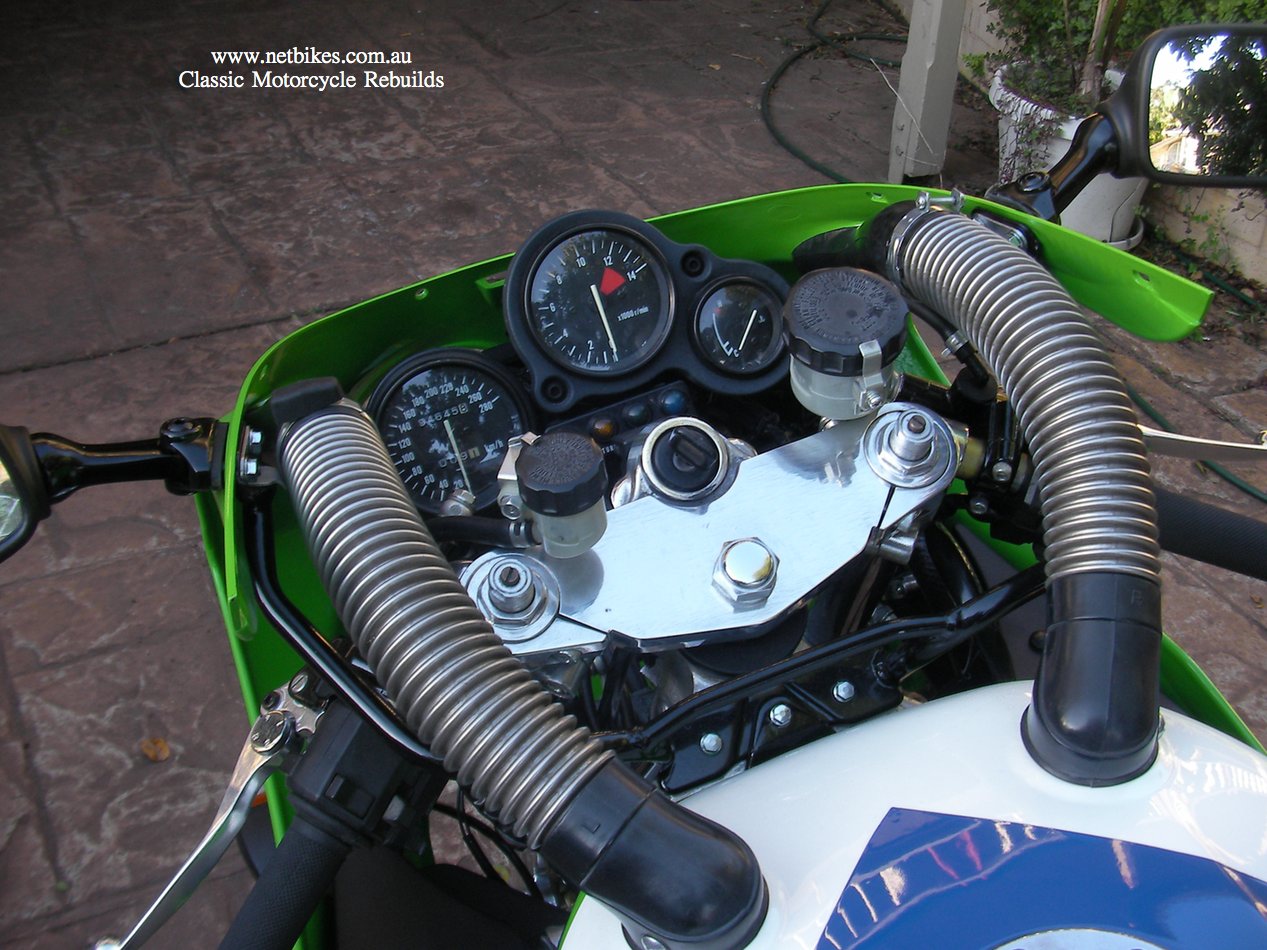
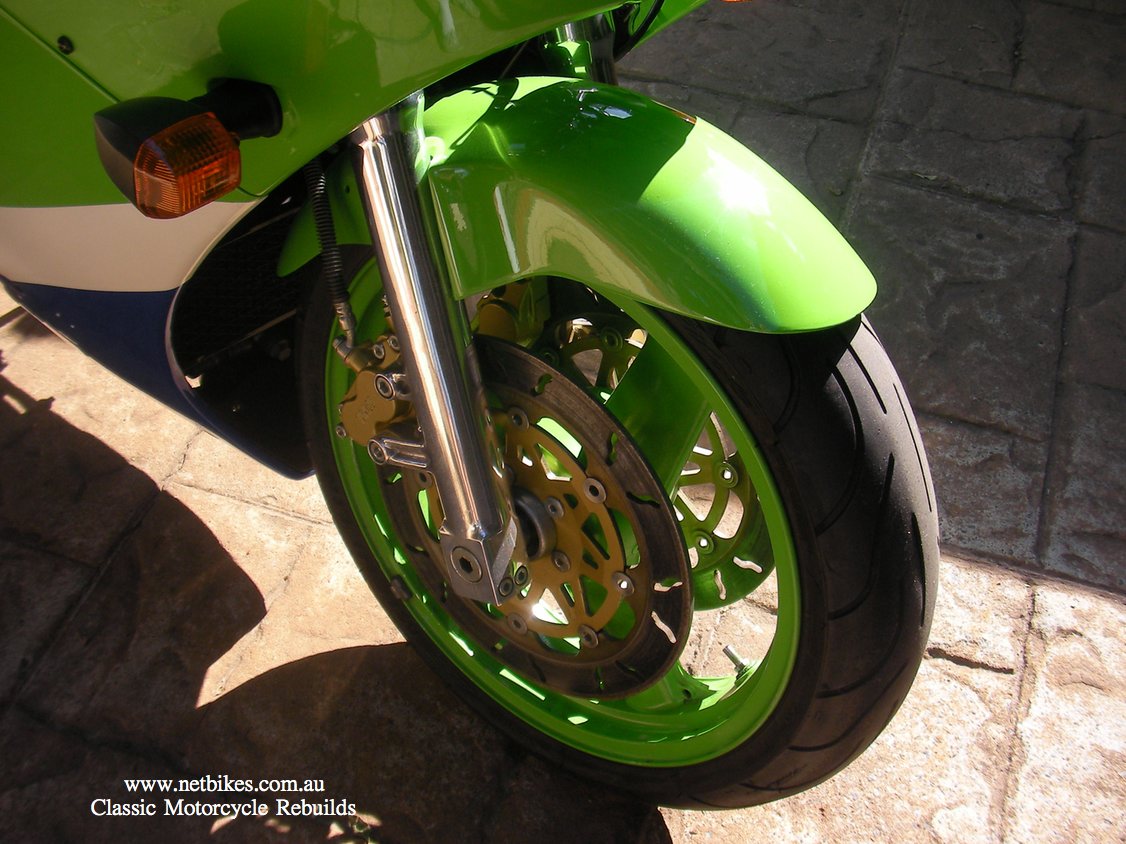
| I have now assembled the forks with new seals, bushes and dust caps, filled with oil to the recommended level, 135mm from the top of the tube with spring removed, I measured the oil as I was doing it and each leg holds 380cc, (ml). The recommended weight is 5 so I used ATF which is 8. Fitted the front wheel and callipers, polished and fit the top alloy clamp, handle bars, switch blocks and levers with master cylinders and bled them up. Not much more to go now.
Paint work is at the painters so when that comes back I can just about finish, still need a good front guard.
|
Here is the beast running, music by Grand Funk Railroad.
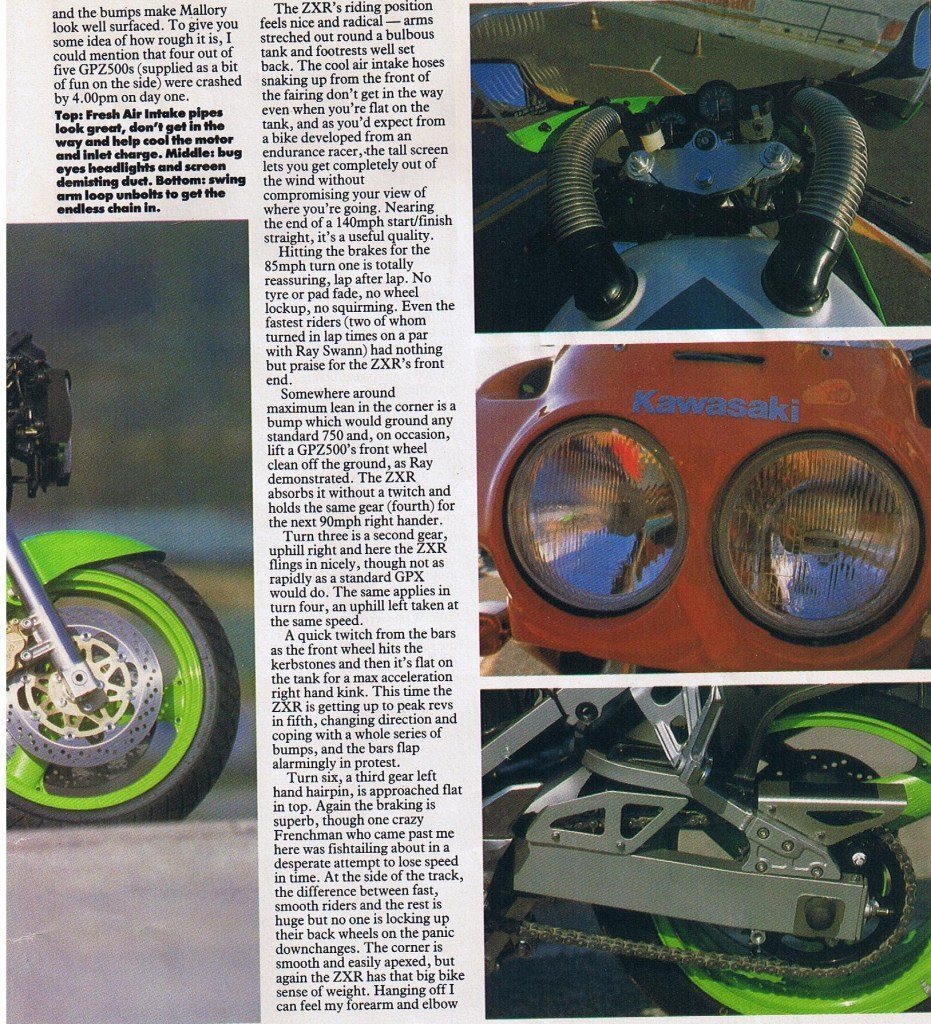
Below is a period write up found on the net somewhere?.

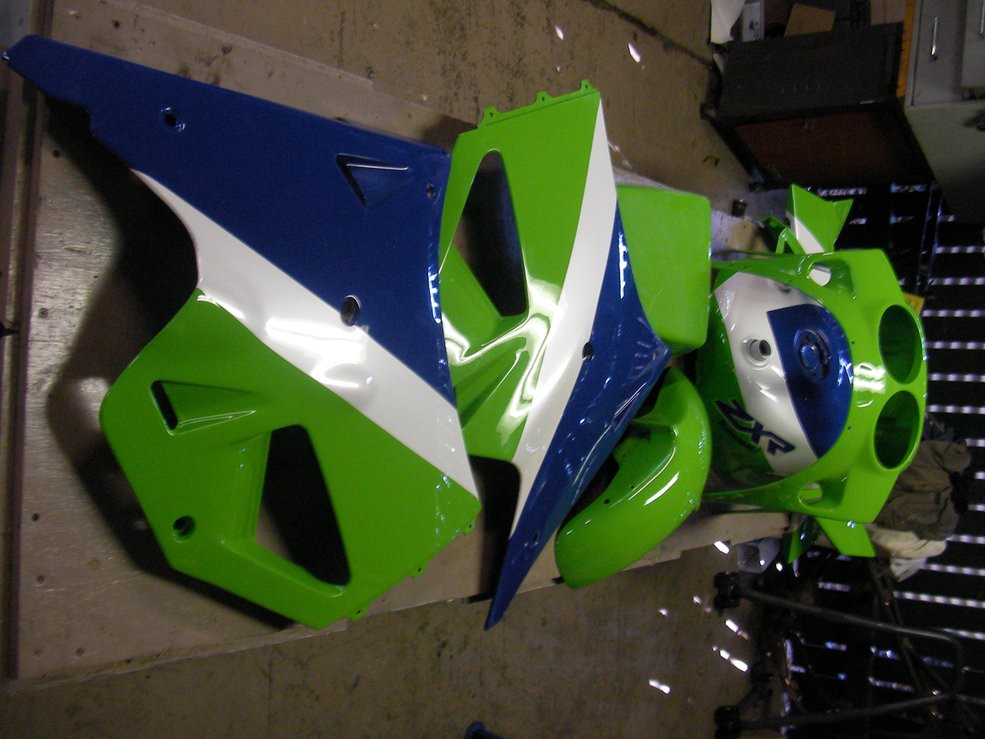
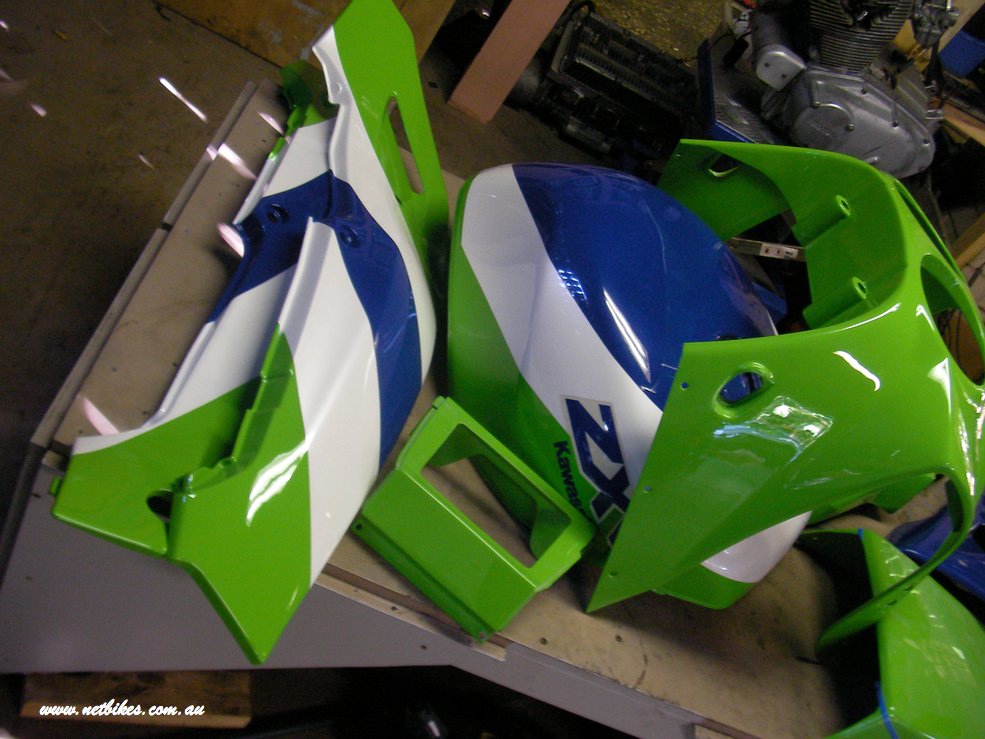
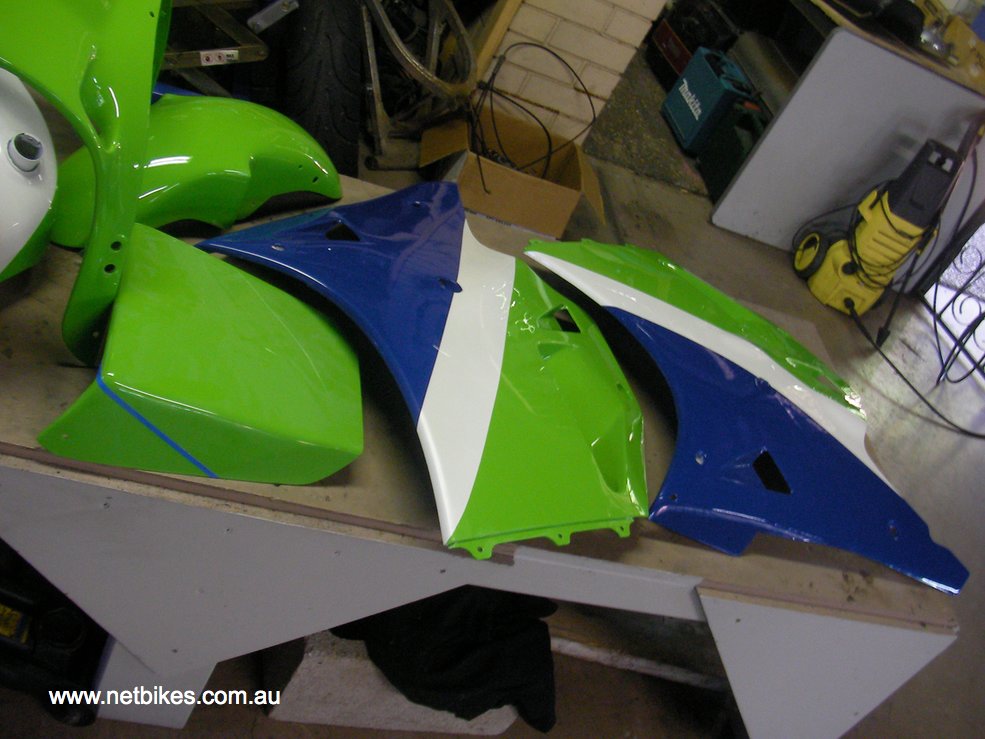
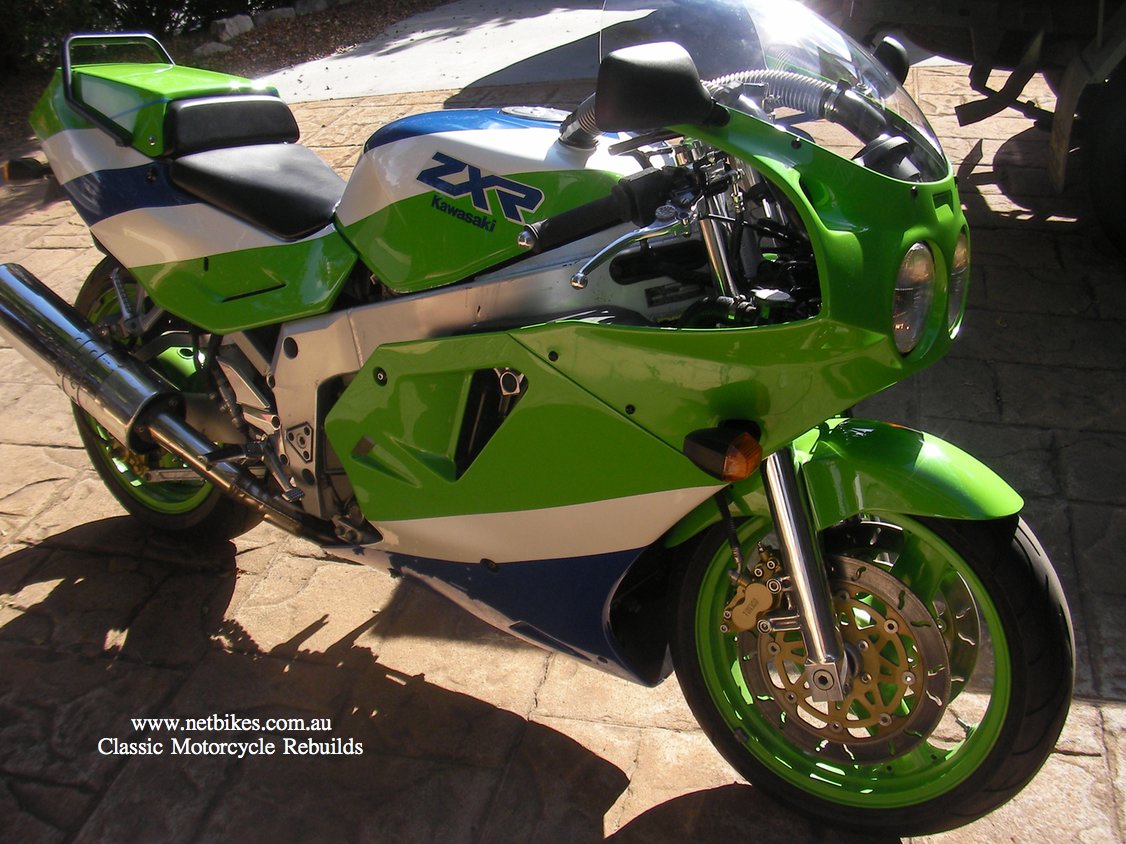
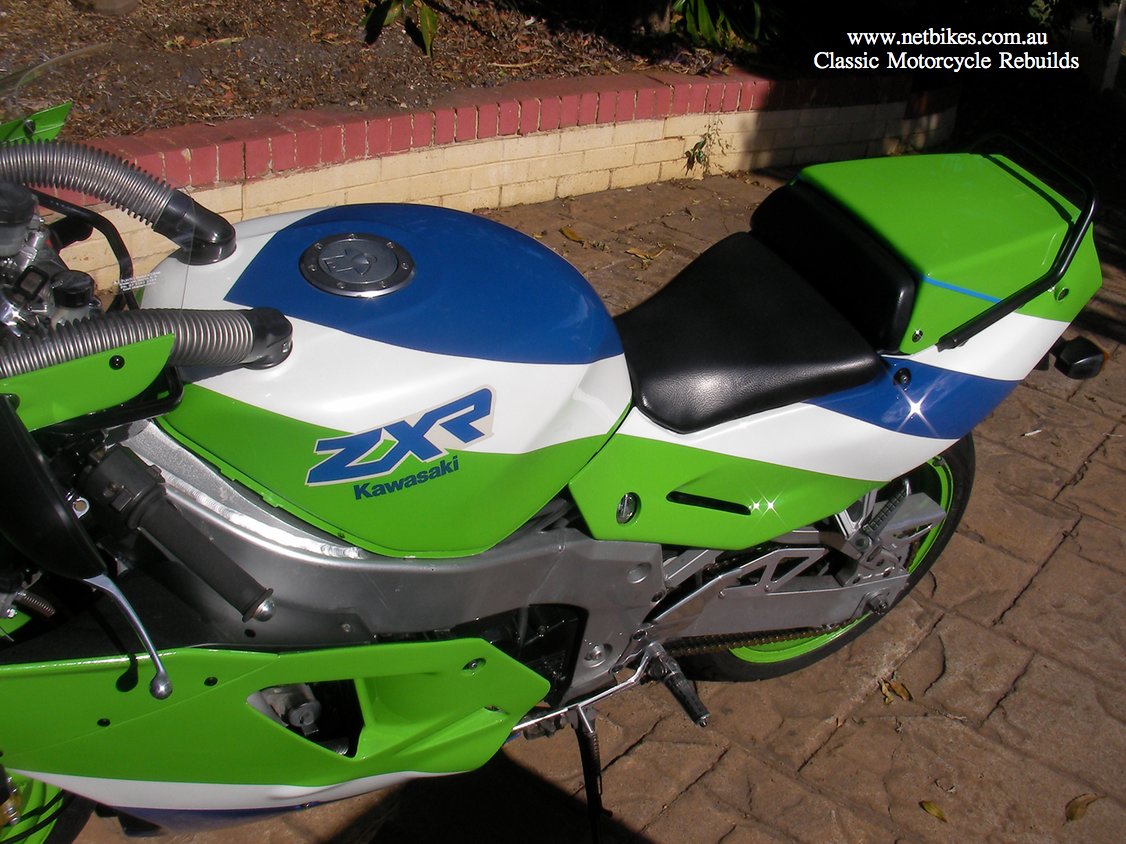
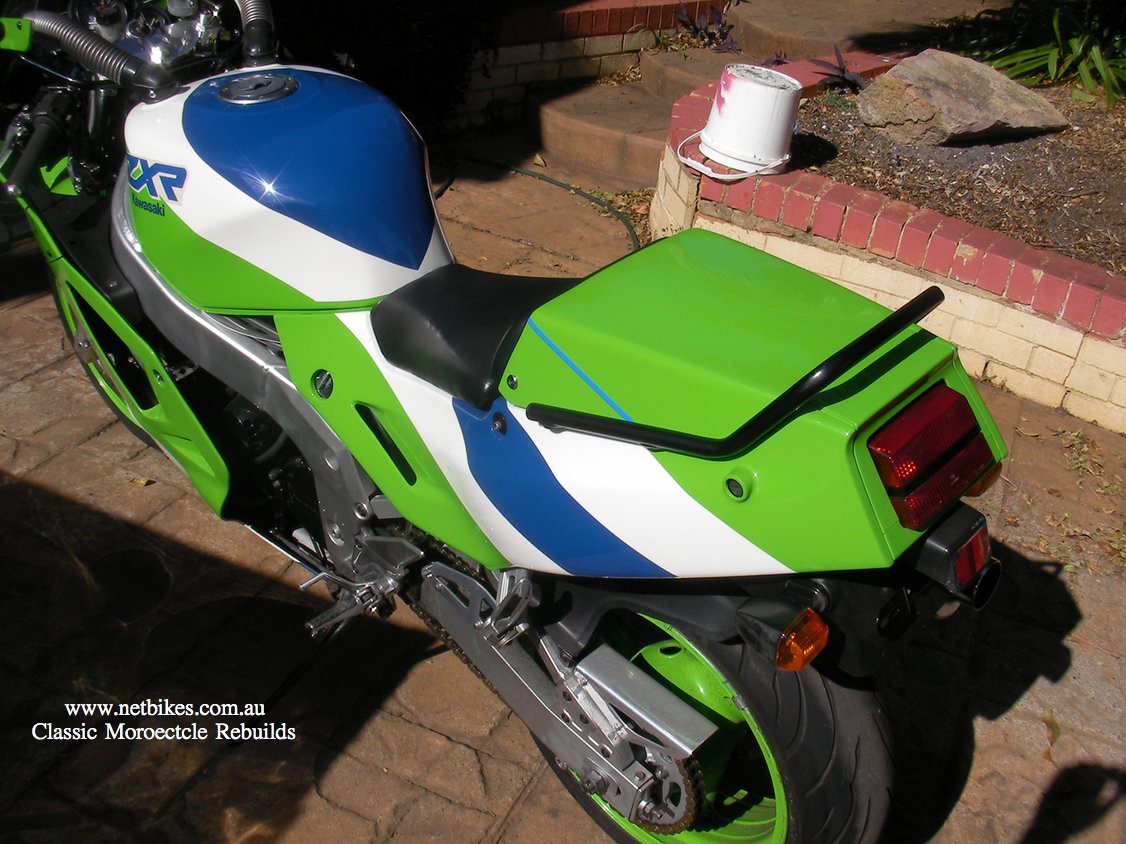
| Picked up the paint work from the painters today, if your in Brisbane it is BUDDAH'S at Unit 2-41 Randall St Slacks Creek, ph 07 3208 2753, mb 0402 481 665. Buddah has been painting bikes for many many years, I saw today he was preping H1 and CB77 parts. Below are pics of my lot, sill to do are the decals on the lower fairings, the 750 on the under seat panels, a splash of white on the rear seat cowl and the Kawasaki name in white on the front fairing. |
| This is my friend Scott going for a short spin, I did a block'e on it just before he did, almost all seems right, my main concern at this time is the oil filter seems awefully close to the ground, I have adjusted the fork pre loads etc to factory specs, previous it is on the hardest setting, I have not ridden it since however due to a noise from the alternator, I suspect a bearing and will check that out tomorrow. |
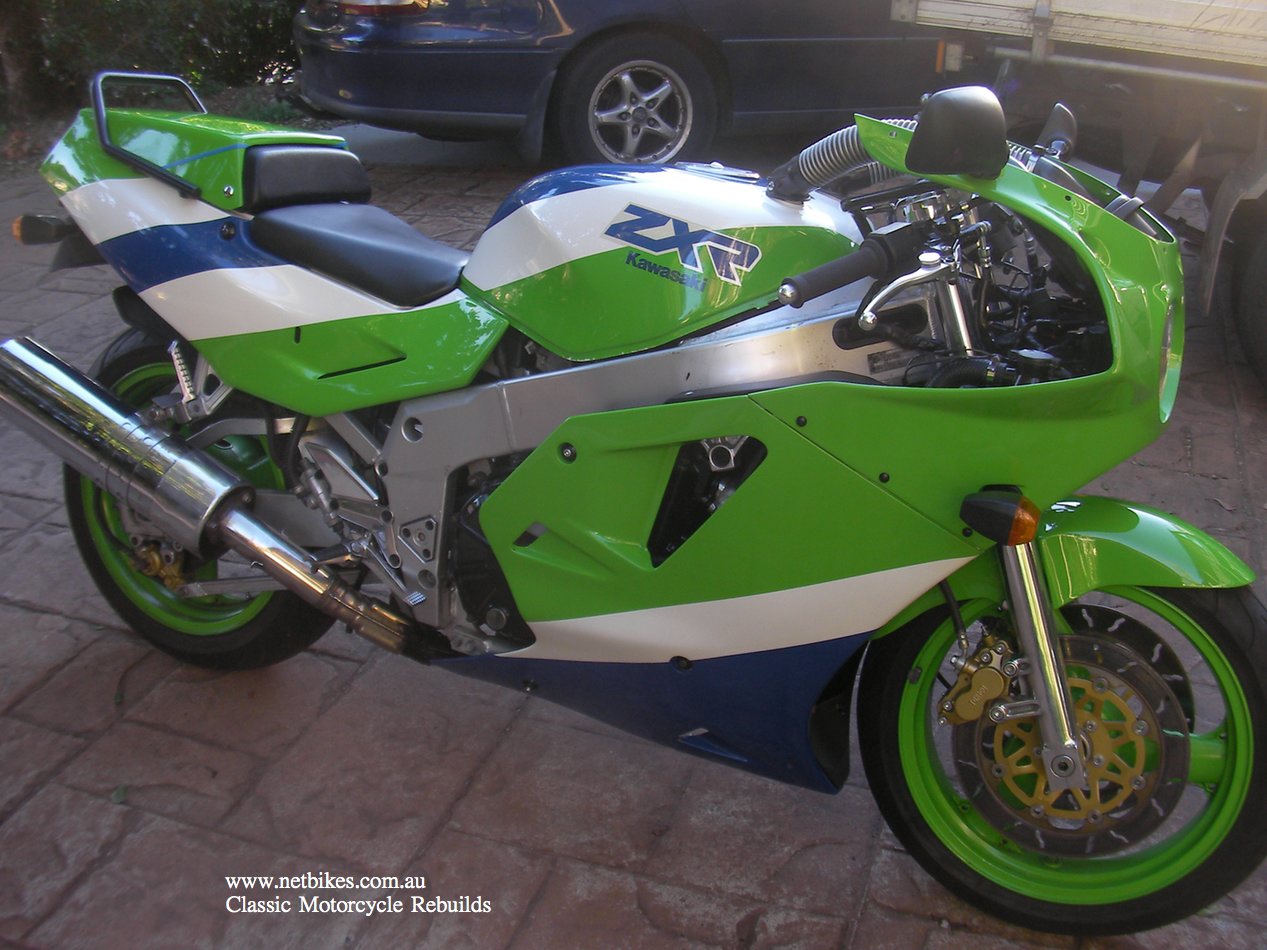
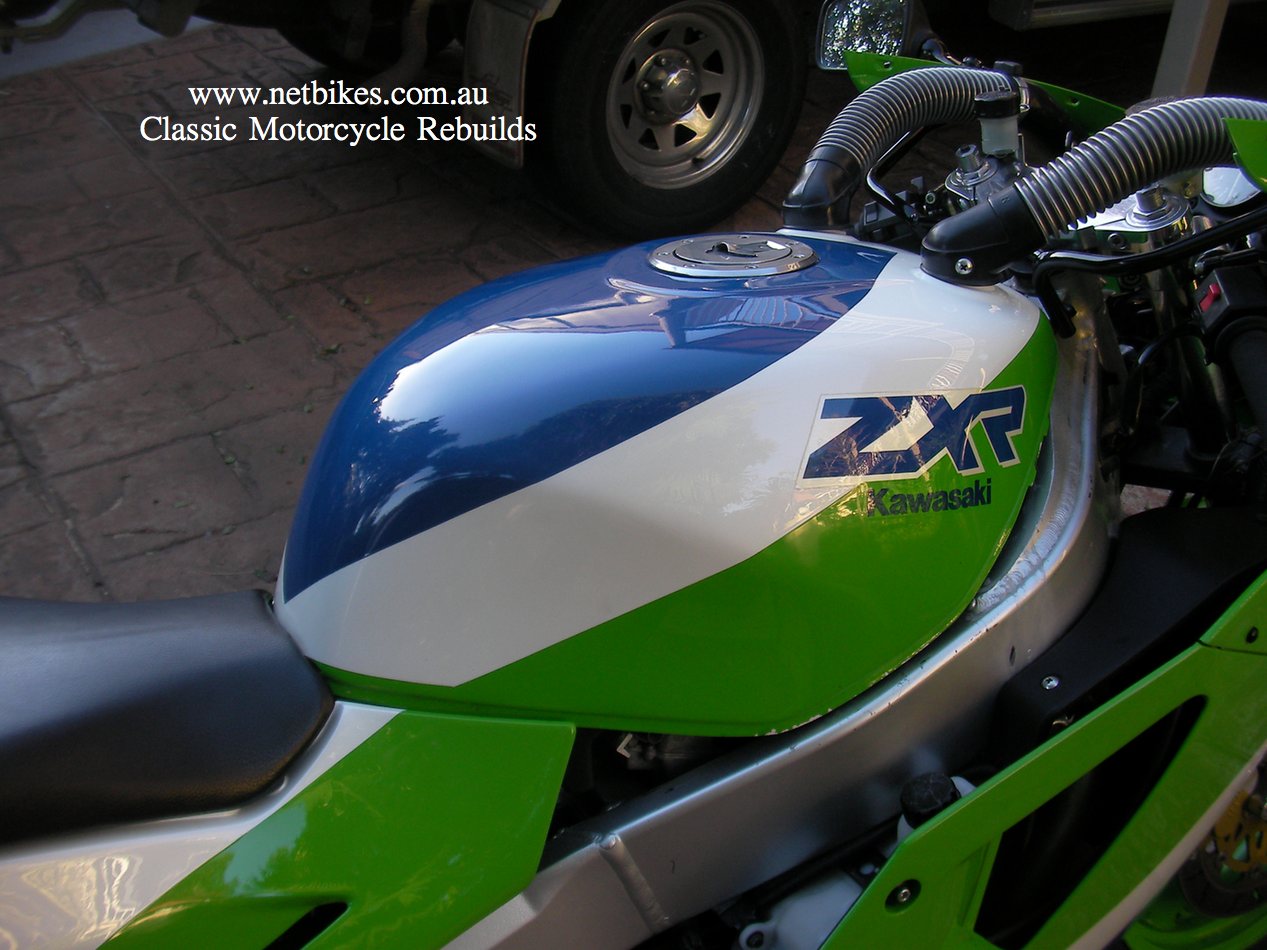
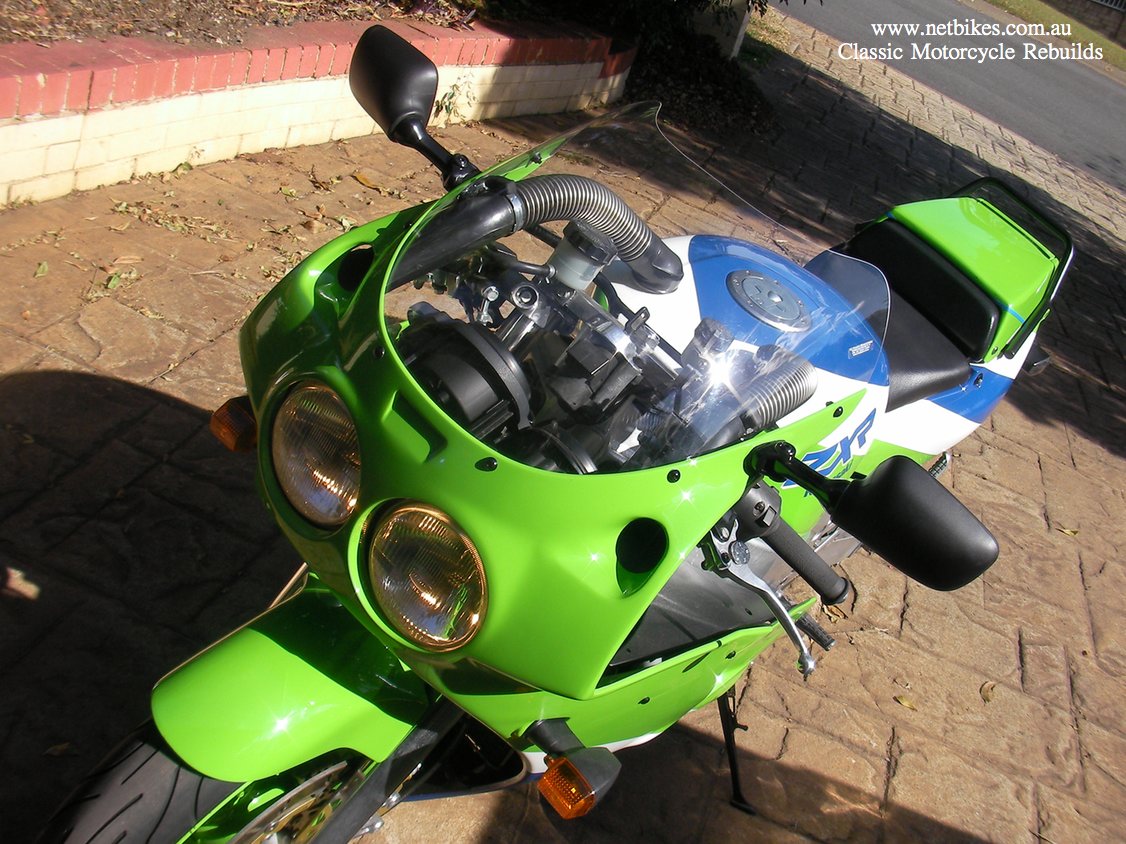
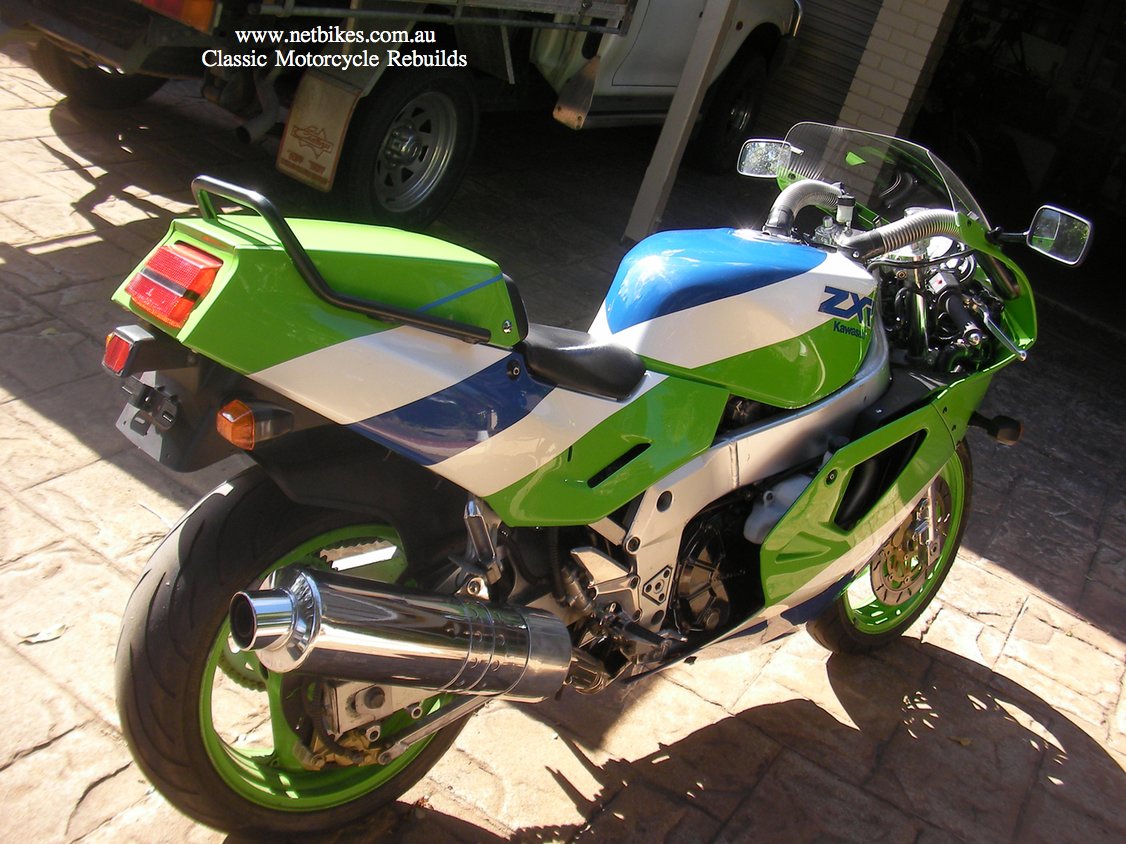
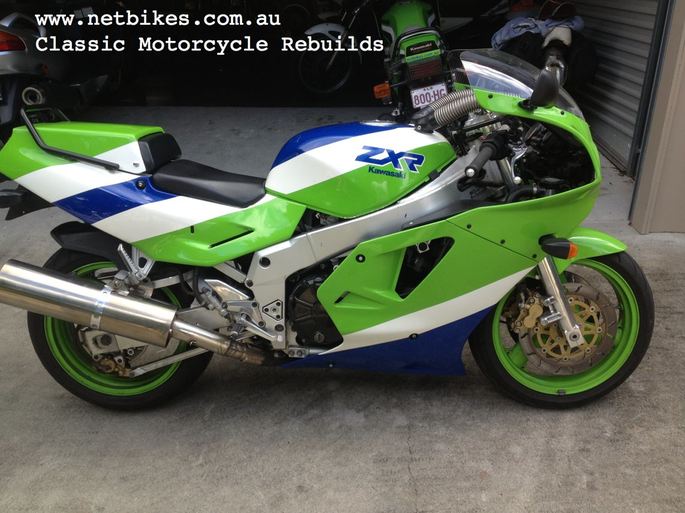
| Almost done now, need to buy a screen, a couple more rubber bits for under the tank, a better muffler and sort the decals out, think that's about it. It's looking good, well to me anyway:-). There are still some other minor details to fix, like touch up the very lower line of the tank and some marks on the frame, find that little rubber cover for the right hand air hose clamp, so please, if you have one in your shed you know who can use it, and don't all those little things cost a buck or two, I have replaced almost all the rubber fairing inserts, small screws, clips etc etc with new genuine in sealed packets Kawasaki parts at a cost of almost $300.00. |
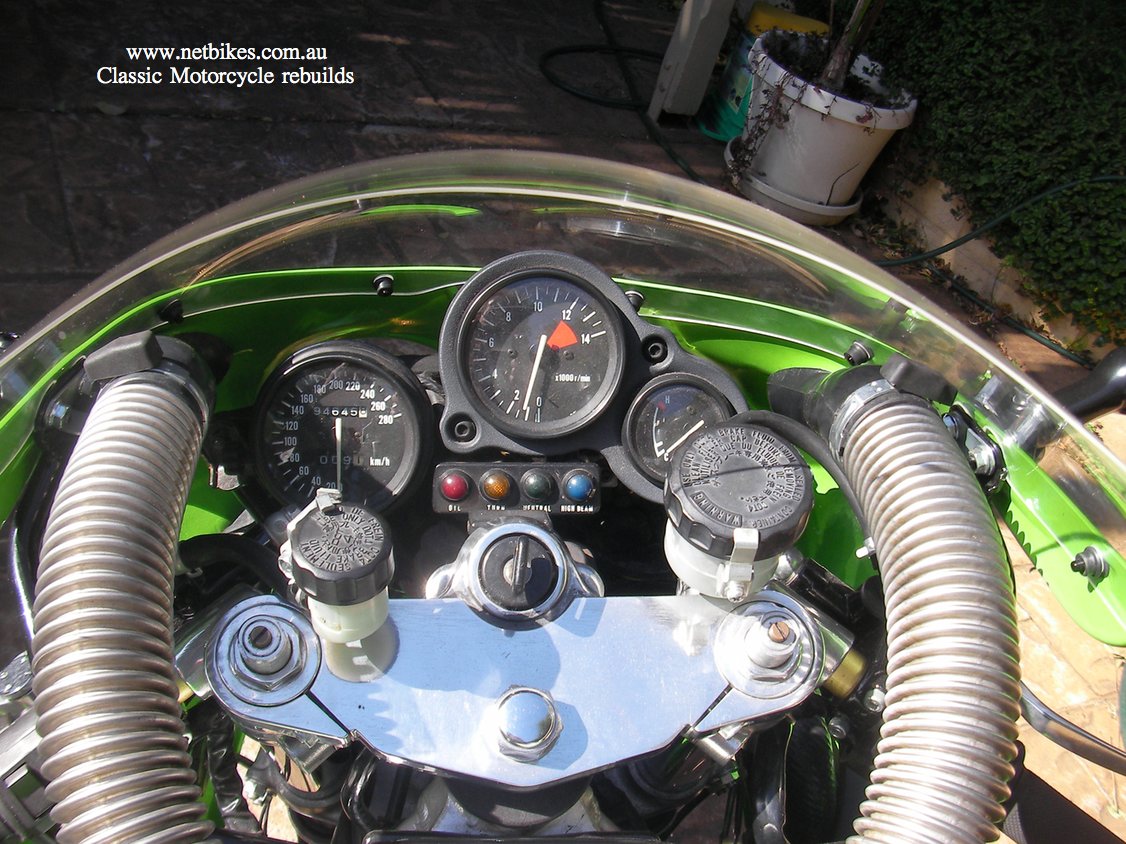
| The CLEAR screen has arrived along with the correct mounting screws and dampers and now fitted. I still need to make decals and have noticed that the high beam indicator light and the neutral light are not working, they were a bit back but since them I have bypassed the clutch and side stand switches, will investigate further, and of course I am still looking for an original muffler plus have the pearl white slash applied to the rear seat cowl. Below are a few of the latest pictures and a short movie. |
I rode the bike on a 5500K road trip, Brisbane to SA return. Awesome ride.